| Click the Pic to view Full Size |
|
|
|
|
|
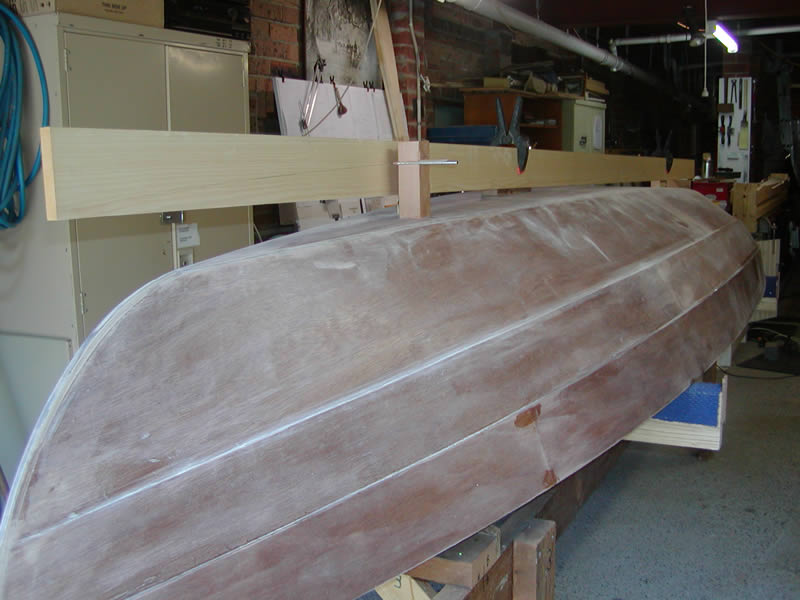
1.The hoop pine for the kee; was supported above the hull and the profile of the hull bottom marked using ...
|
2. ... a wooden block pencil guide.
|
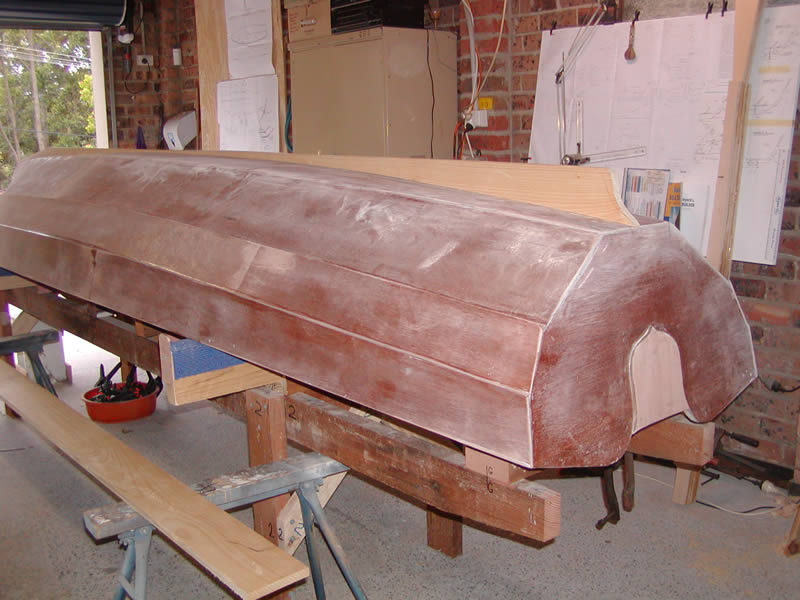
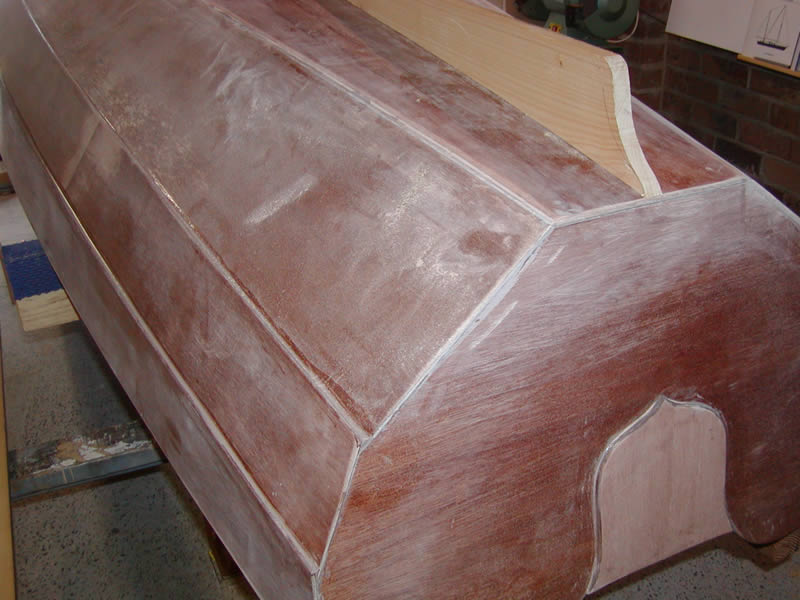
3. After reading the forum and discussions with John, I have adopted a full length keel, extending it from the forefoot to the transom. |
4. Part of the reason is for trailering but also to improve tracking. |
|
|
|
|
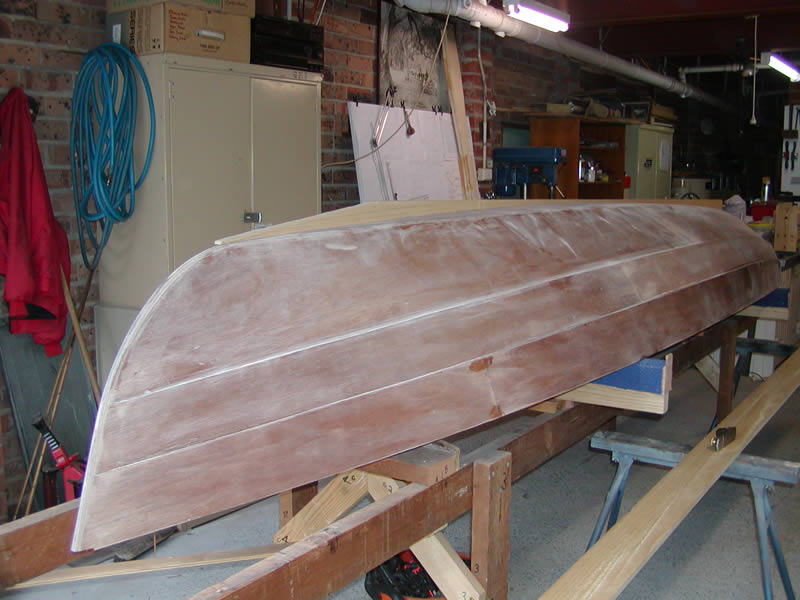
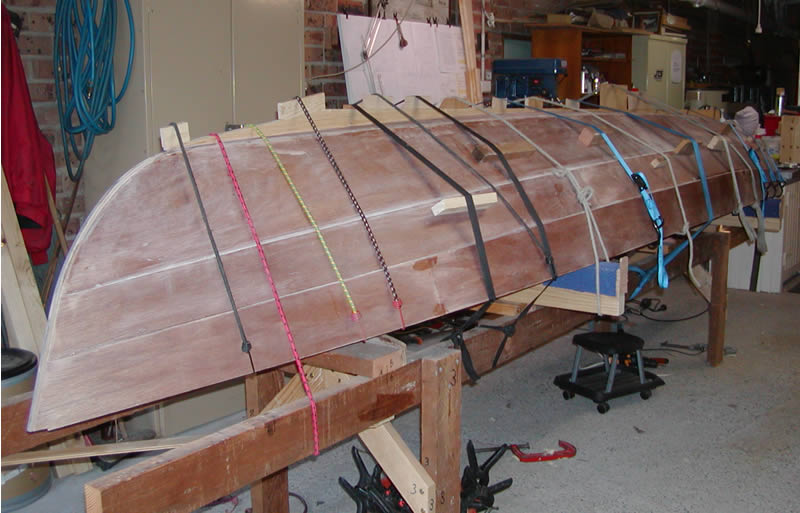
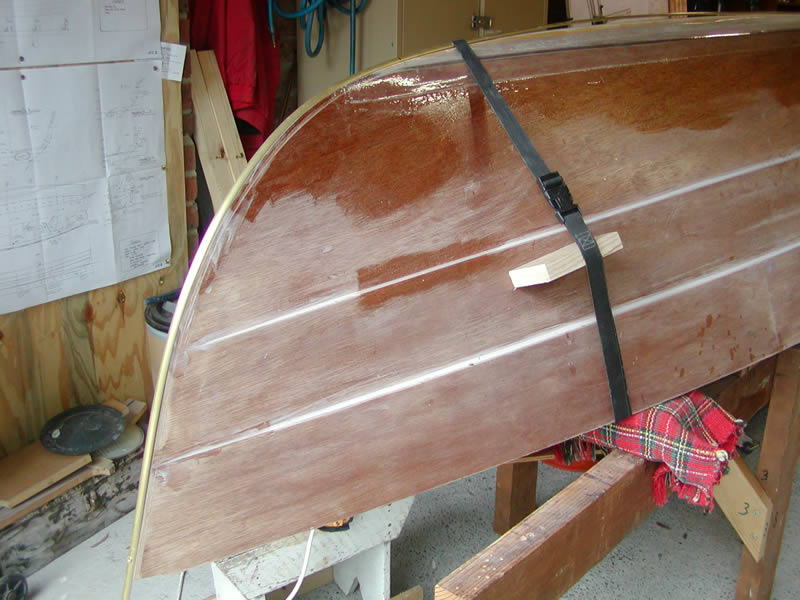
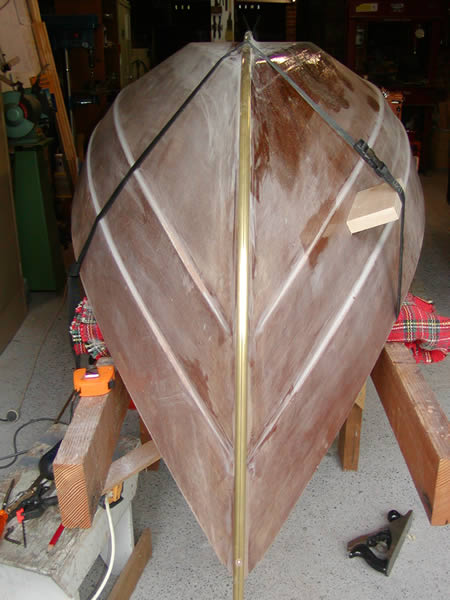
5. The keel on my Joansa is just epoxied in place as I had trouble with aligning screws and having the screws pull the narrow keel (18mm) off square. |
6. Plenty of straps held the keel in place while the epoxy set. At this stage I was not happy with the keel profile and reduced the forward depth later . |
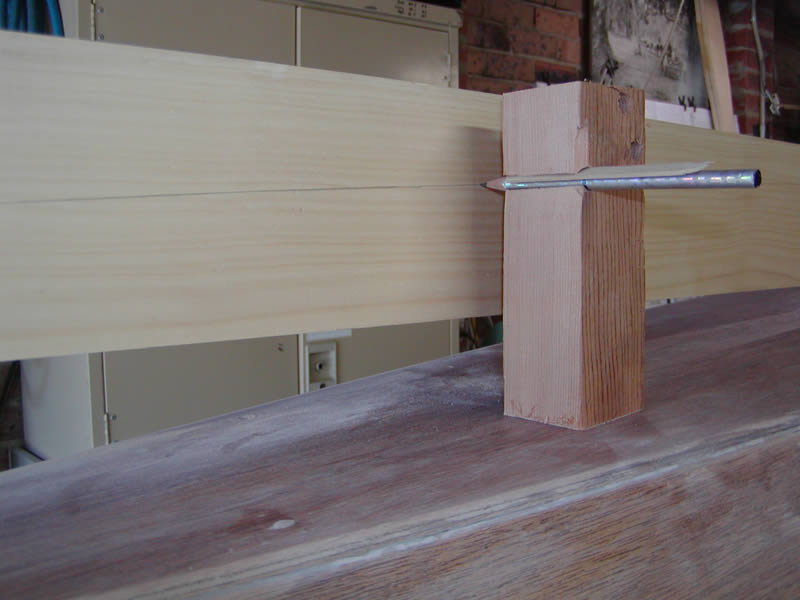
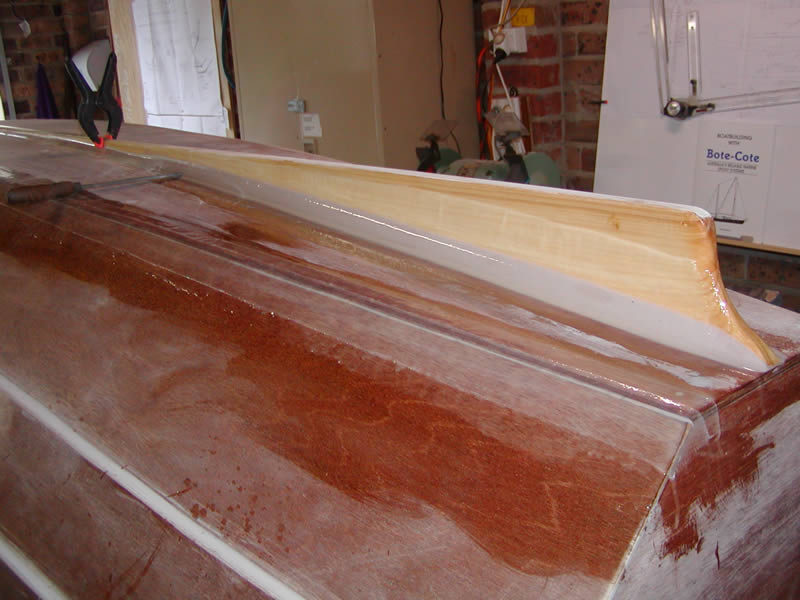
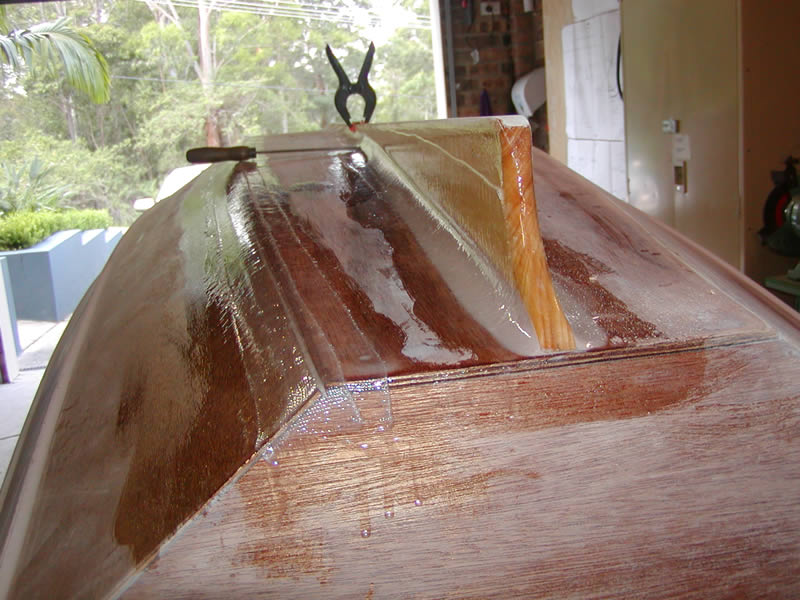
7/8. Generous size fillets have been used to reinforce the keel to hull join with an additional layer of 3" wide fibre-glass from the transom to the position of the file in these pics.
|
|
|
|
|
9/10. A 1/2" brass keel rubbing strip is being fitted (obtained from B & E Chandlery at Rozelle - Sydney)
|
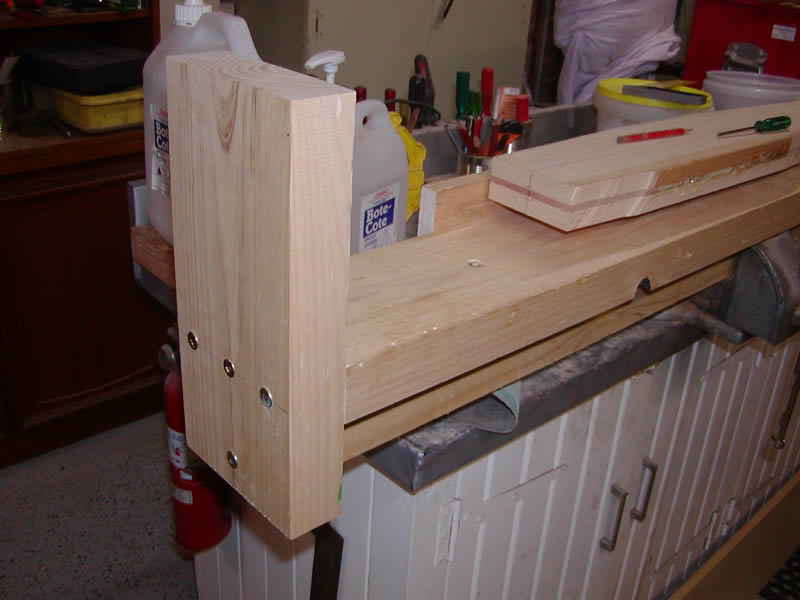
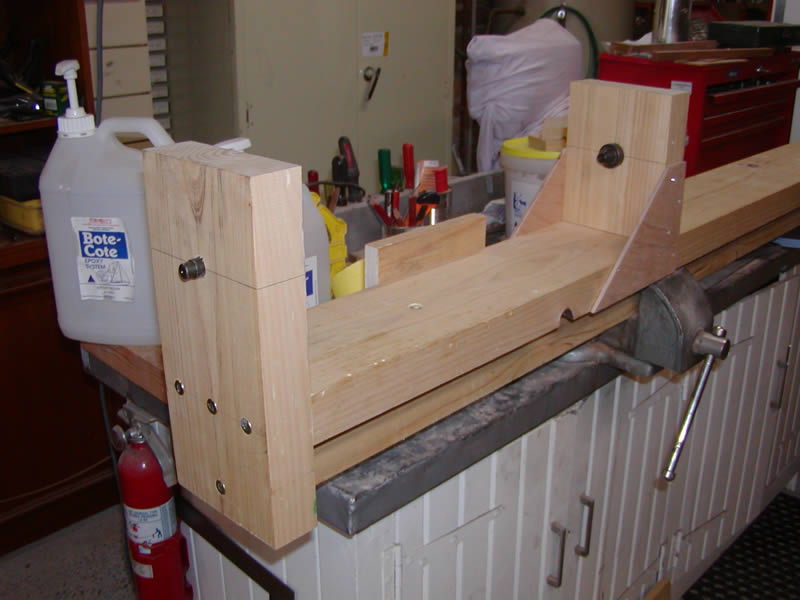
11. Back to the oars - the oar laminating jig was designed with the view to turning it into a type of lathe.
|
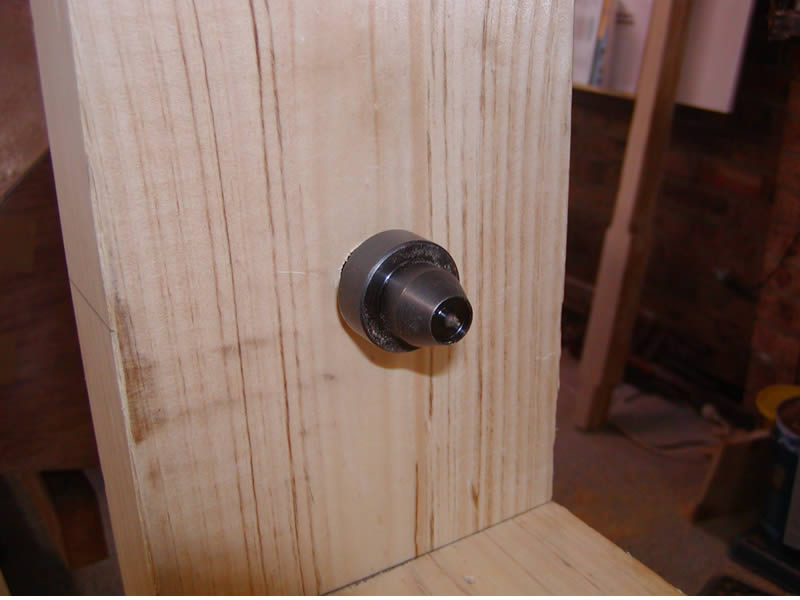
12. This end has been fitted with a rotating cup centre to support one end of the oar and allow it to be spun. |
|
|
|
|
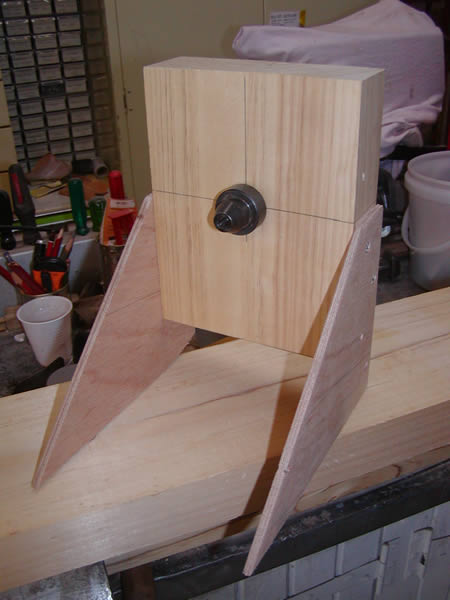
13/14. A type of "tailstock" was fabricated, again with a rotating cup centre to support the other end of the oar.
|
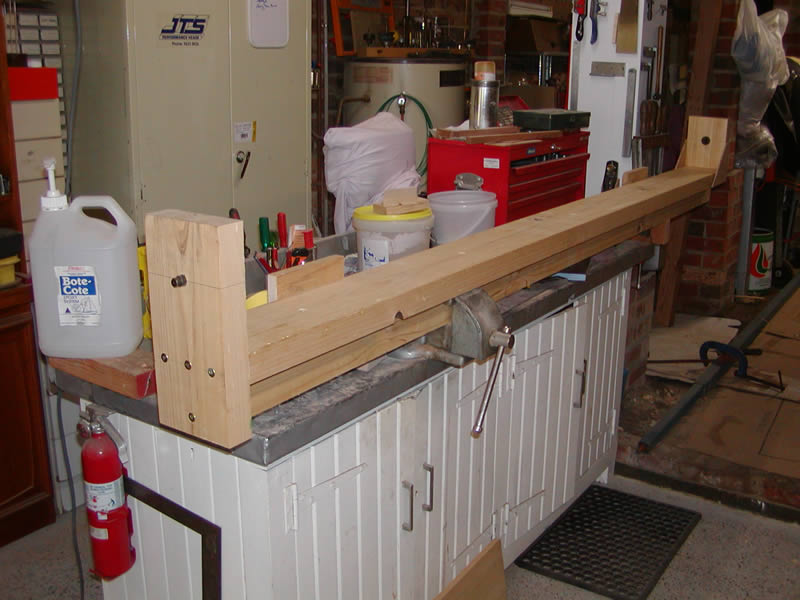
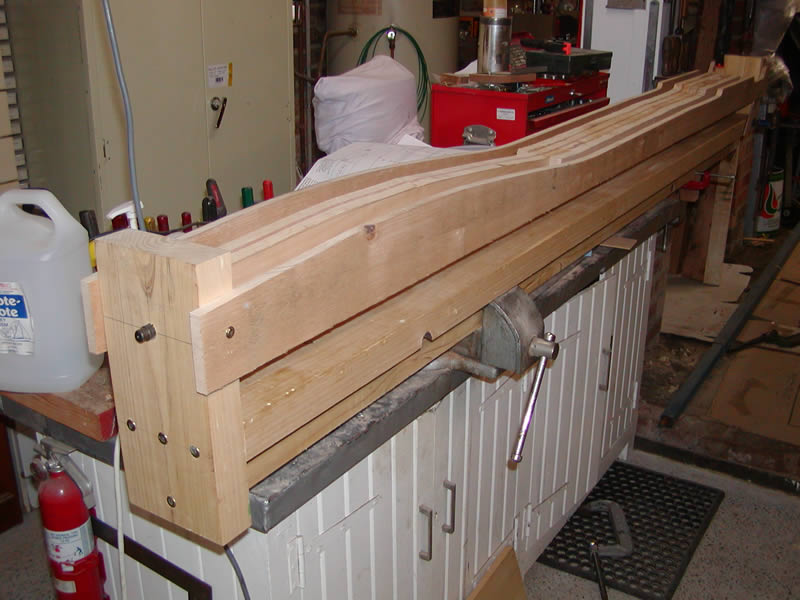
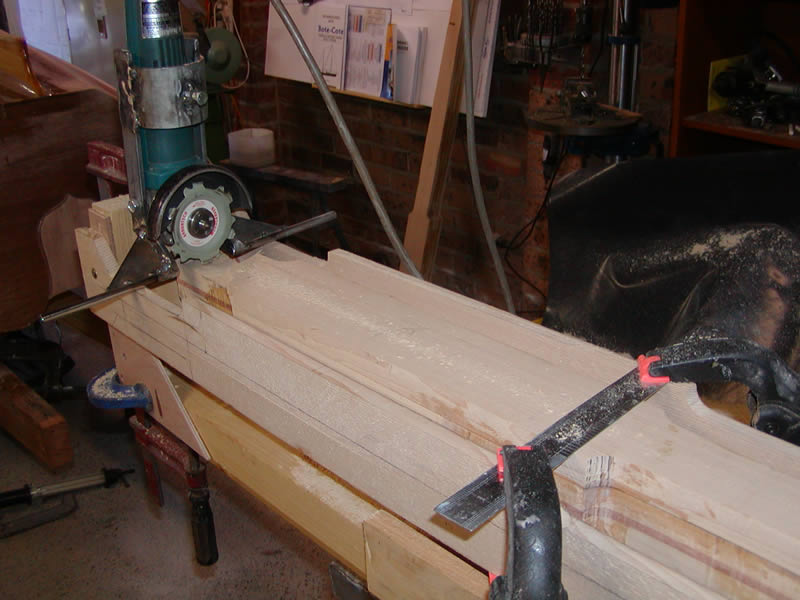
15. This shows the setup with the two ends in their correct position - the "lathe" could be made to any length. |
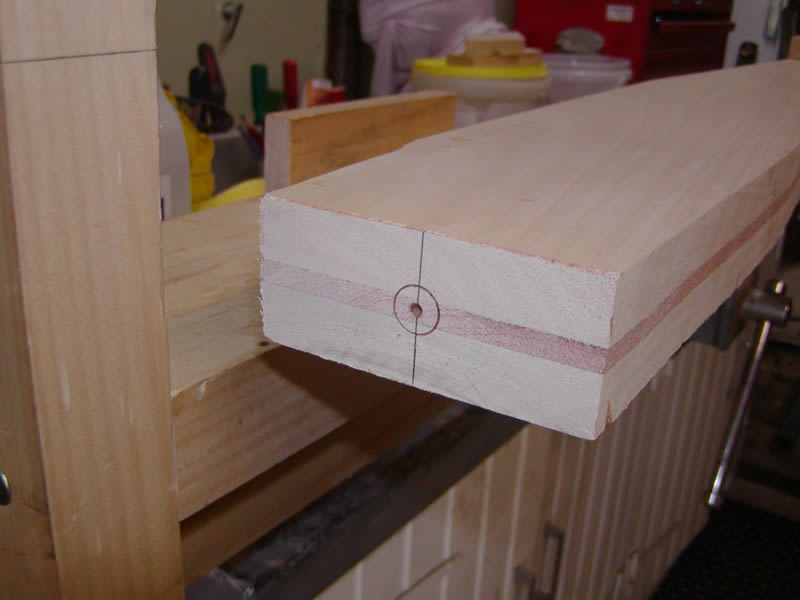
16. The centre needs to be calculated and marked by tapping the cup centre into it lightly with a mallet. |
|
|
|
|
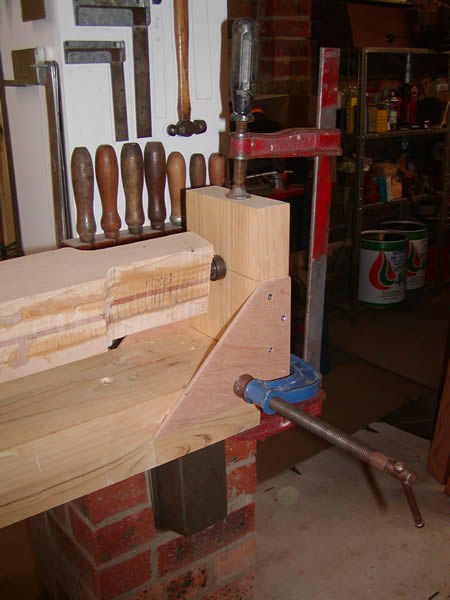
17. The tailstock is held inplace with a couple of clamps. |
18. The oar is in place with the prepared profile shapes screwed to each side. The profiles guide the cutting "gadget". |
19. This is still a "work in progress" so the whole thing may be a stuff-up. |
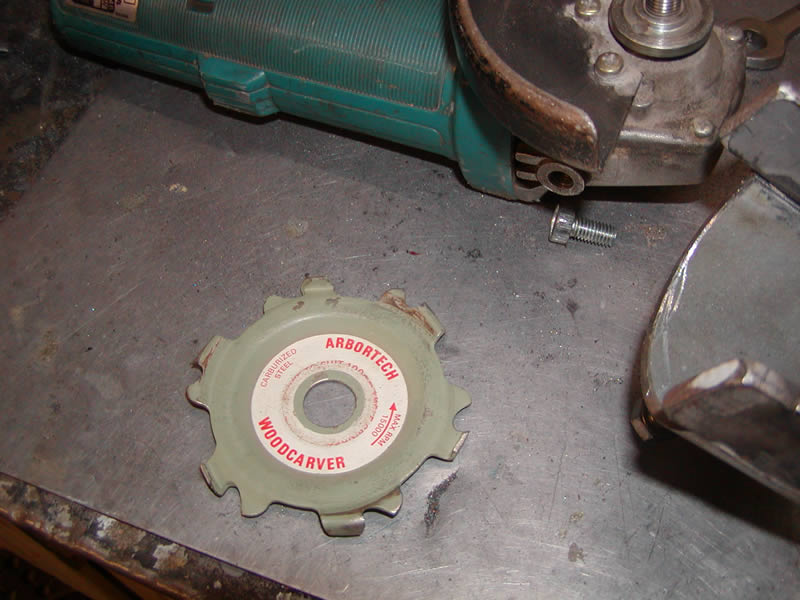
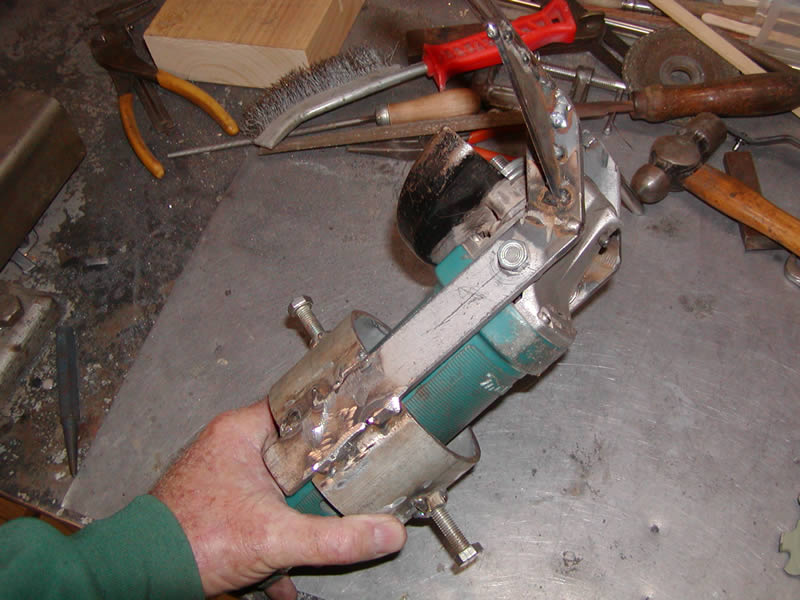
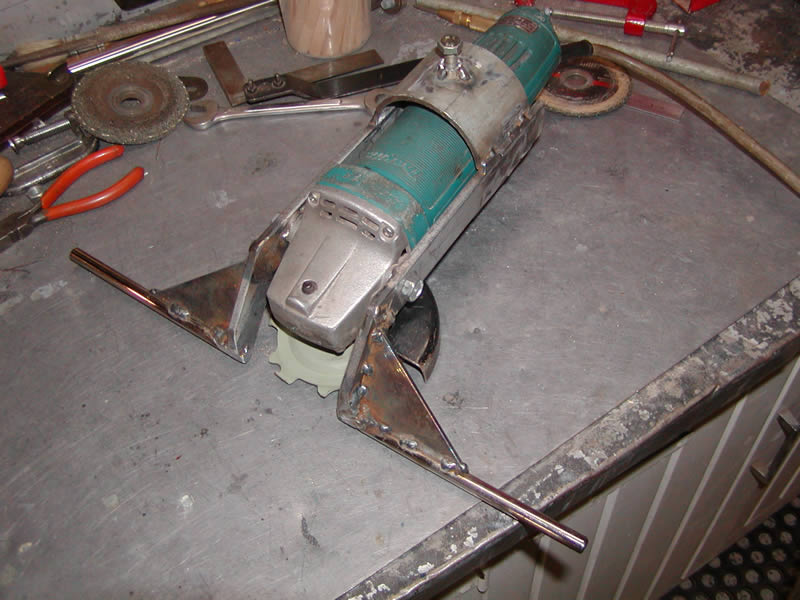
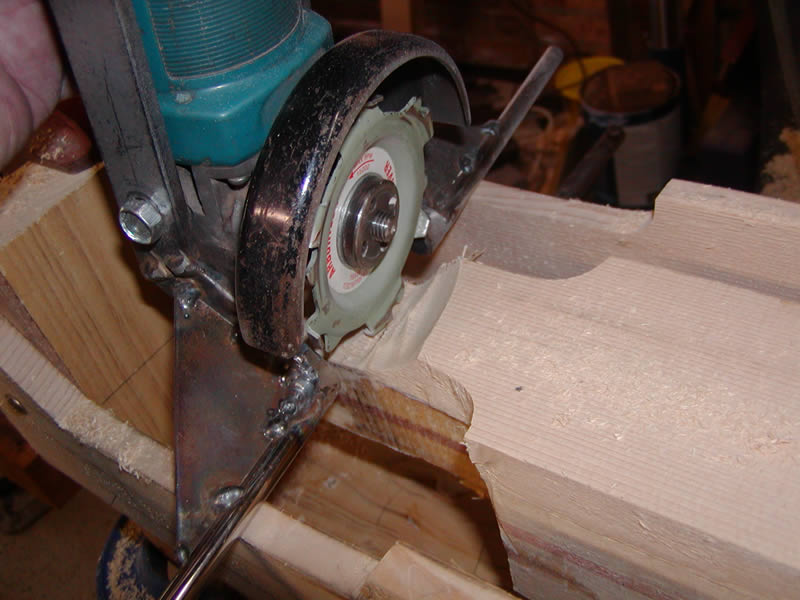
20. I used an Arbortech Woodcarver blade held in an angle grinder. It's like little chainsaw teeth on a disk. |
|
|
|
|
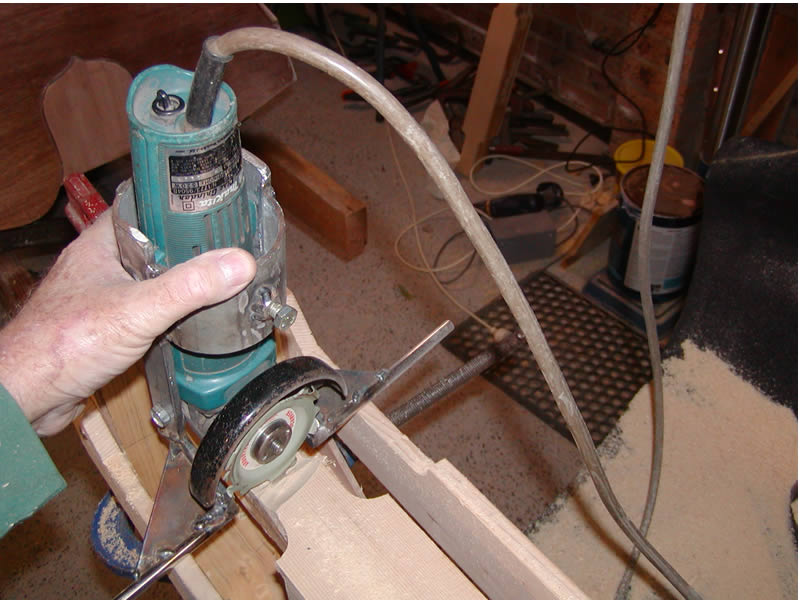
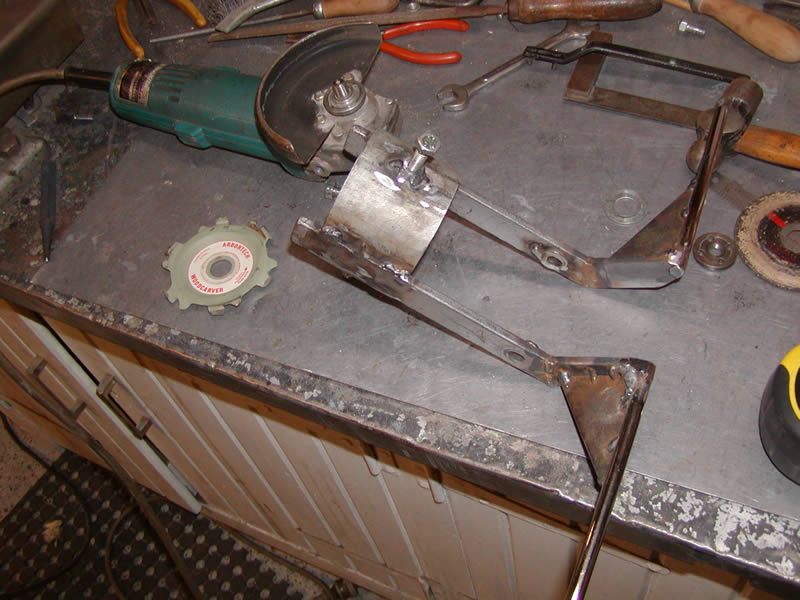
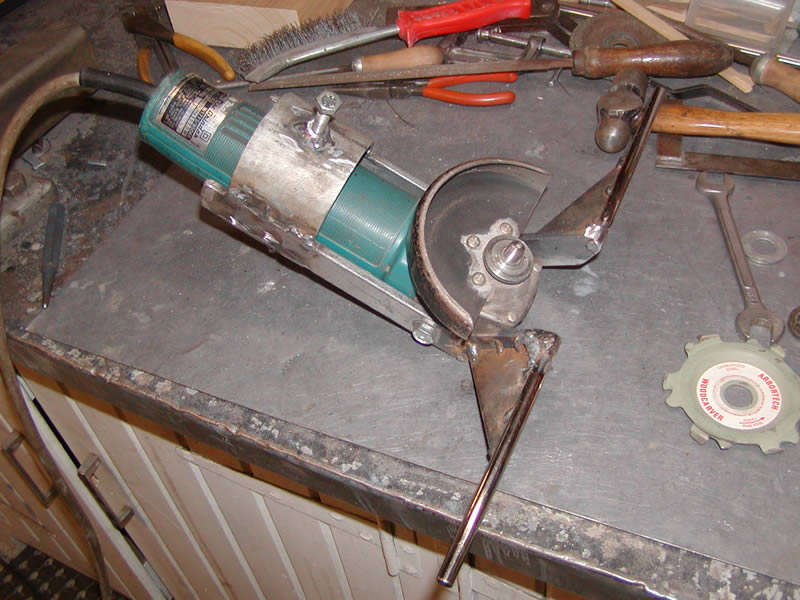
21- 24. This "gadget" was made up from scrap steel and pipe with the two guide bars set at the same level as the tip of the cutter.
|
|
|
|
|
25. The guide slides along the profiles, cutting no lower than the profile height. |
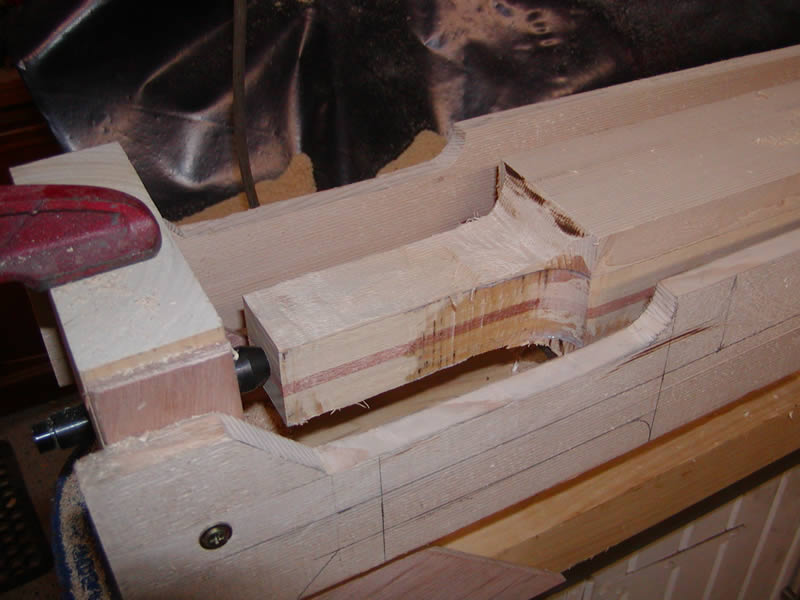
26. At first I held the oar in a fixed position to square-up the handle. |
27. It did seem to work which surprised me somewhat. |
28. By rotating the work, the cutter produces a cylindrical profile - more yet to come as I experiment with this. |
|
|
|
|
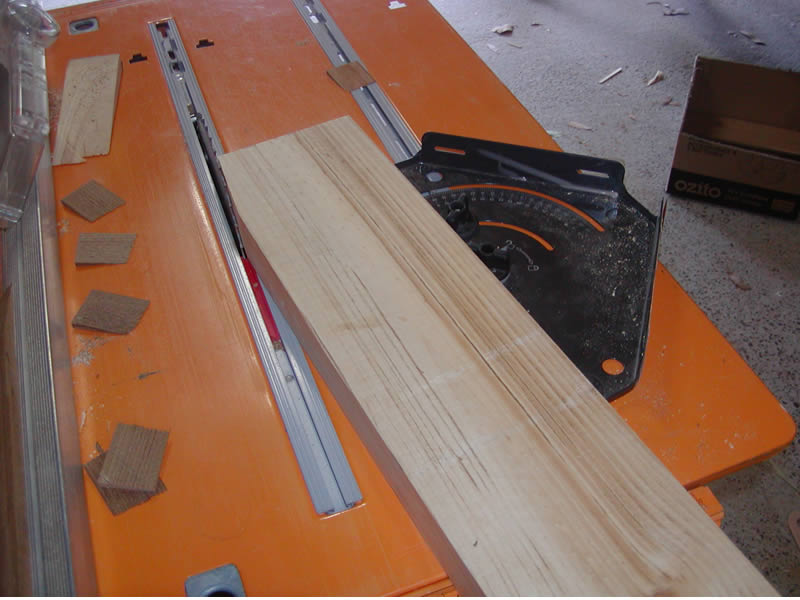
29. The rubbing strake for the gun'l was prepared from 3 pieces of donated teak so 2 scarfs were required. |
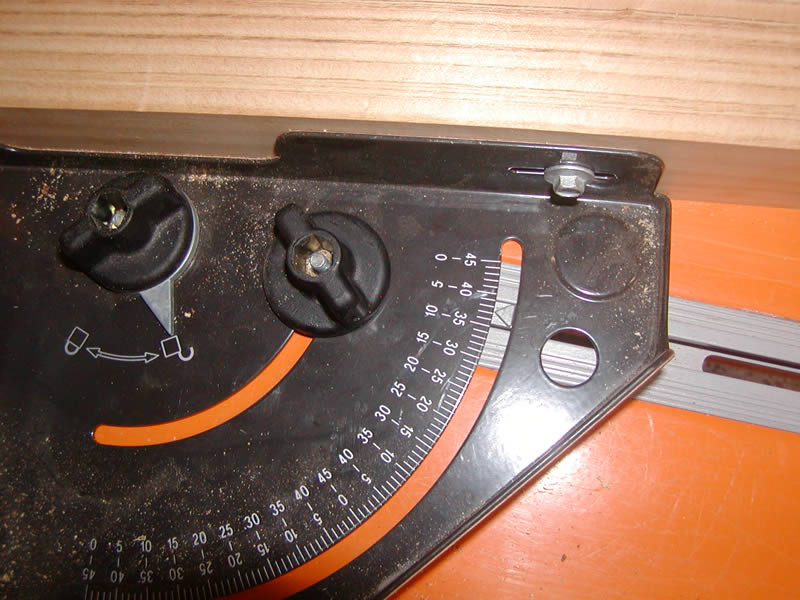
30. As the material was quite thin (40mm x 8mm) I needed a guide to cut the 1 in 8 scarfs. The guide was offset to 7 1/2° which gave a 1:8 slope. |
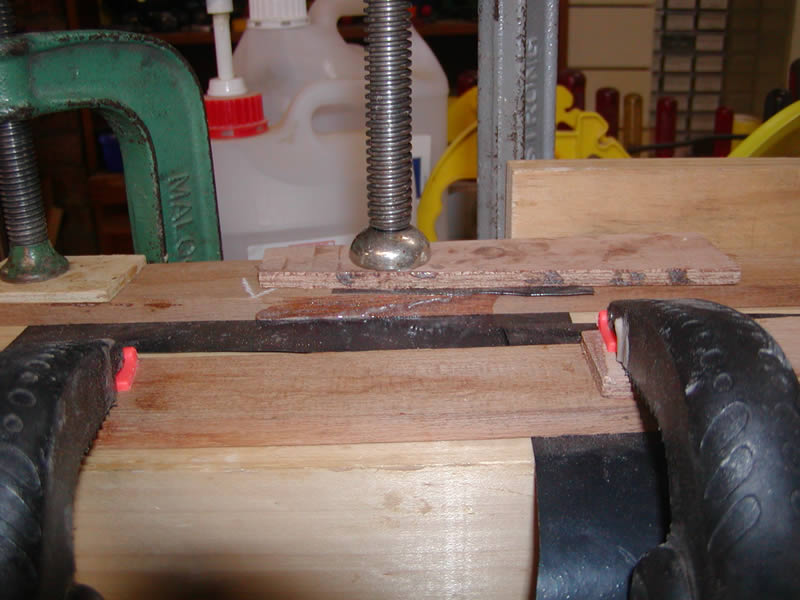
31. The photos show how it works. Guards and the riving knife were in place for the cutting. |
32. Epoxied scarfed joints were done in the teak straight off the saw as recommended in the Boatcraft Pacific literature. The strakes will go on when the hull is right way up. |