| Click the Pic to view Full Size |
|
|
|
|
|
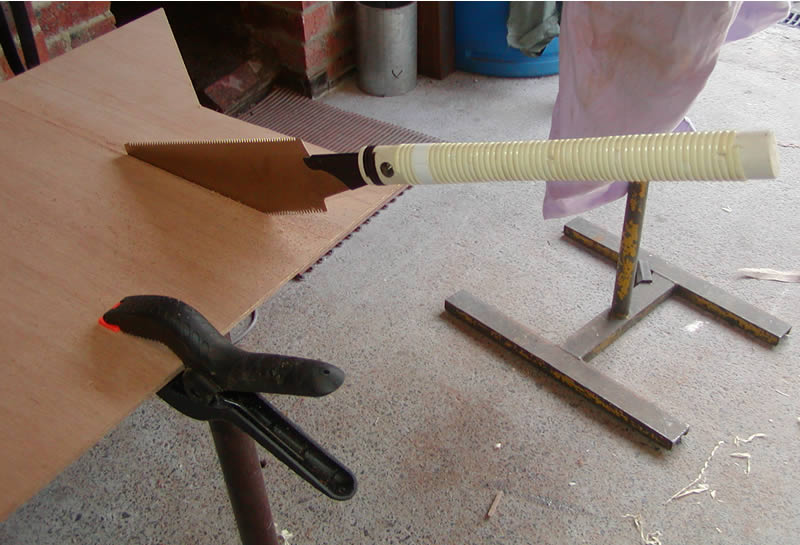
1. The Japanese "Ryoba" saw is ideal for boatbuilding. |
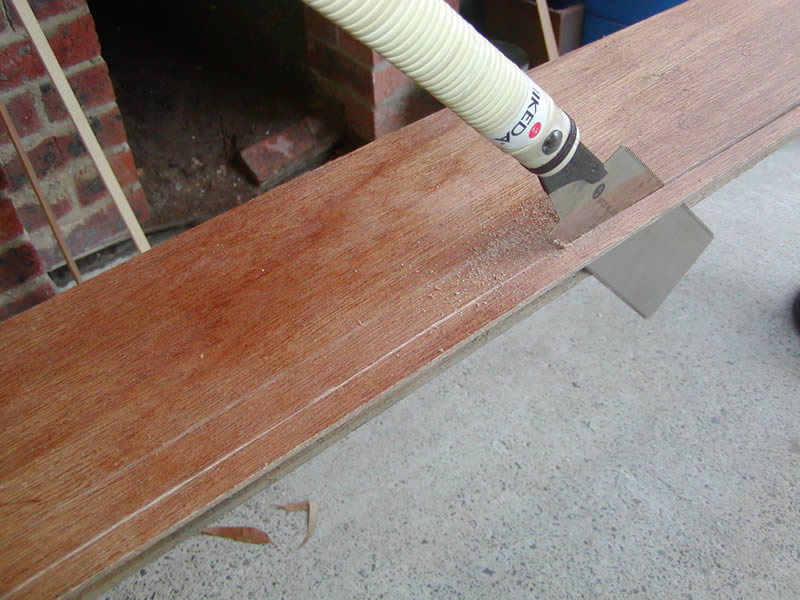
2. I made this tool to gauge the correct depth for the overlapping plank. |
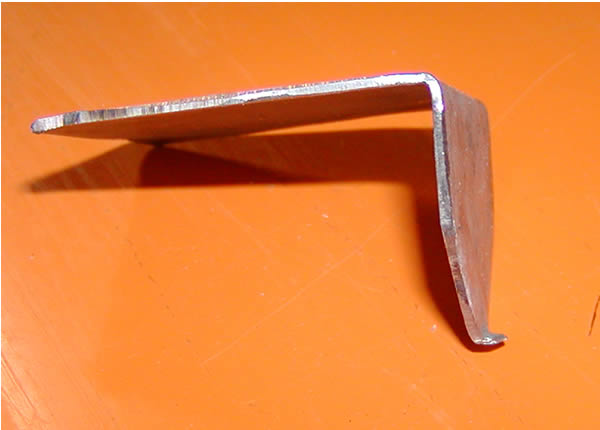
3. This shows the shape of the gauge (made from a piece of scrap galvanised iron). |
4. Run the tool along the top of the stringer to mark the inside of the plank. Top edge is clamped in place. |
|
|
|
|
5. The gauge scribes a line on the inside of the plank. |
6/7. I cut all the planks with the Ryoba saw which is very quick & accurate & leaves a very fine cut. Cross cutting is so clean, no other prep. is necessary. |
8. Second row of planks started, here being marked out.
Date: 6th Sep 06 |
|
|
|
|
9. As indicated earlier, I set the stringers out in a different way. I had to mark a centre line on each stringer & plane to it. |
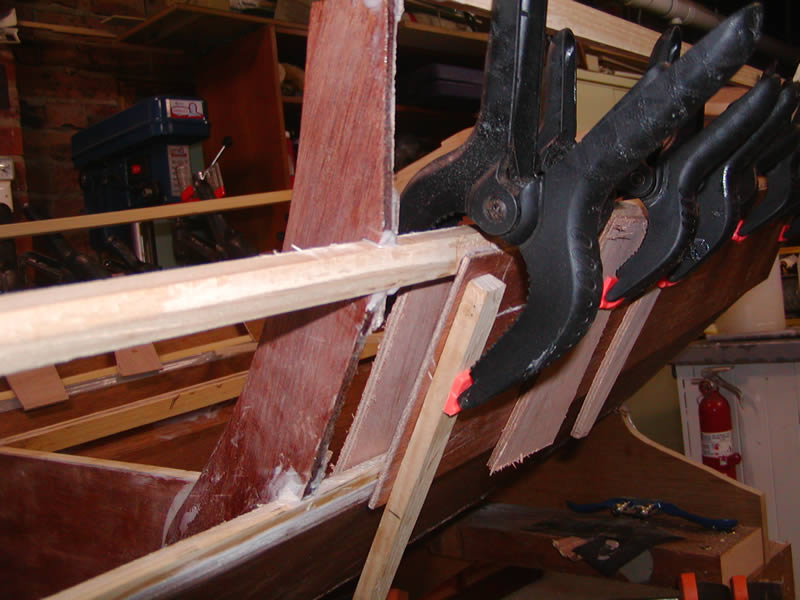
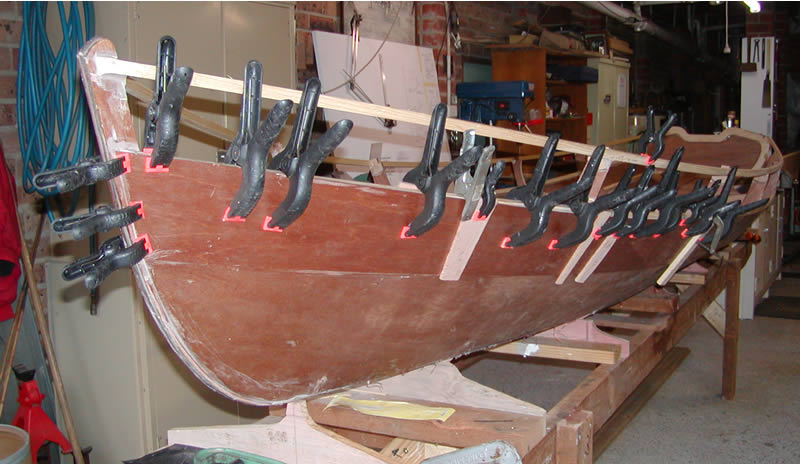
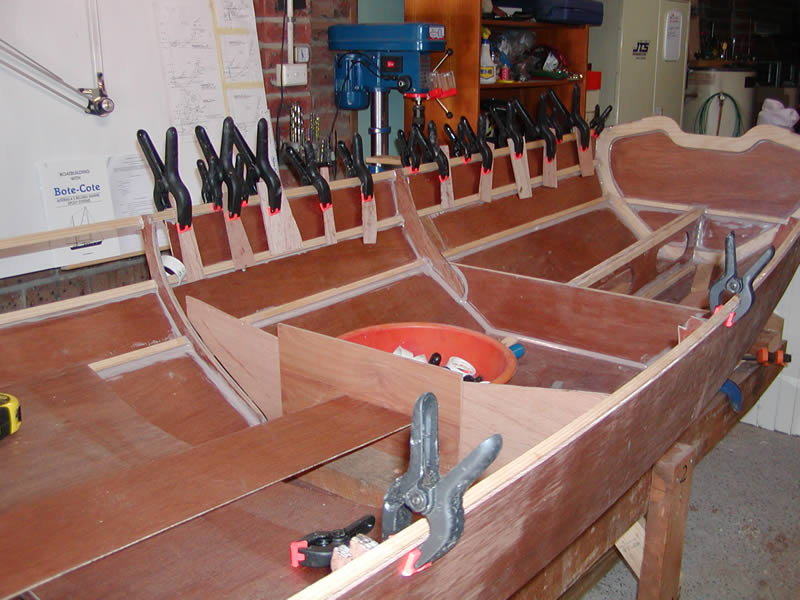
10/ 11. Gluing the plank in place. By using packers across the stringers I was able to get plenty of pressure without using screws. |
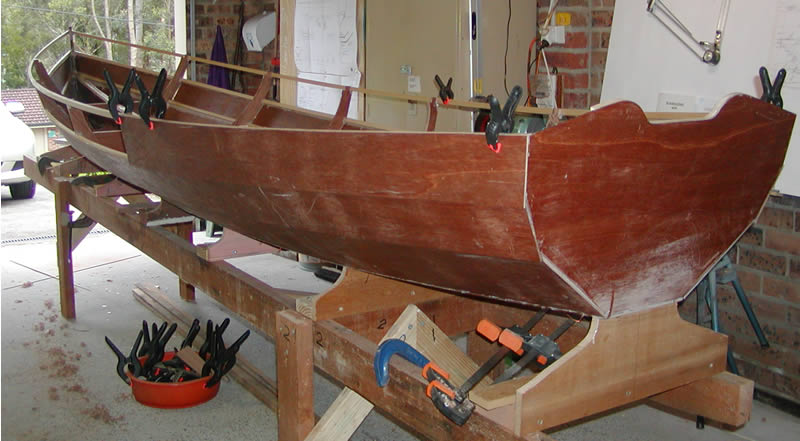
12. Centre port plank. I need another 40 clamps!
|
|
|
|
|
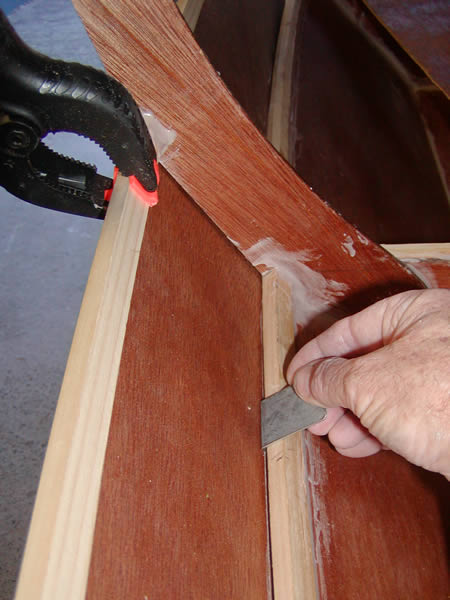
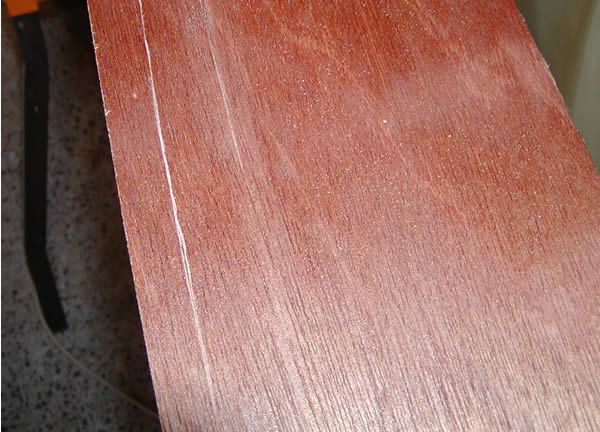
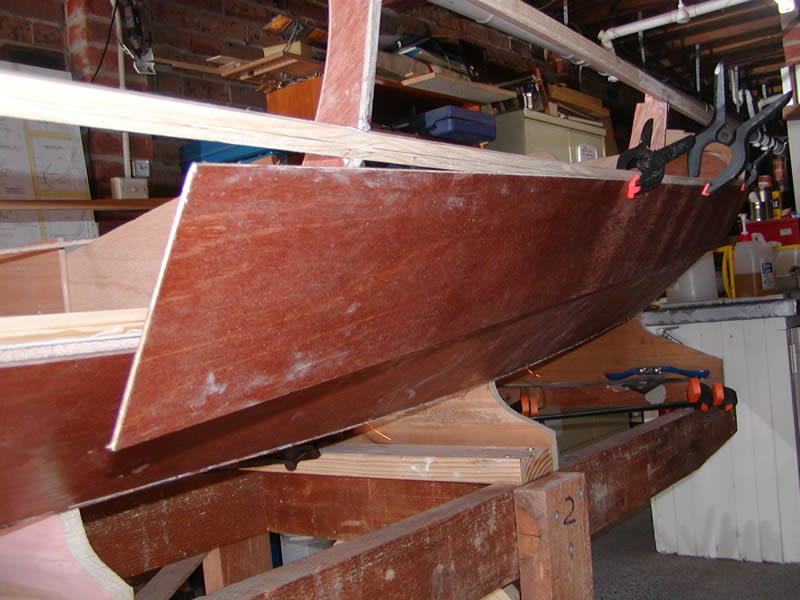
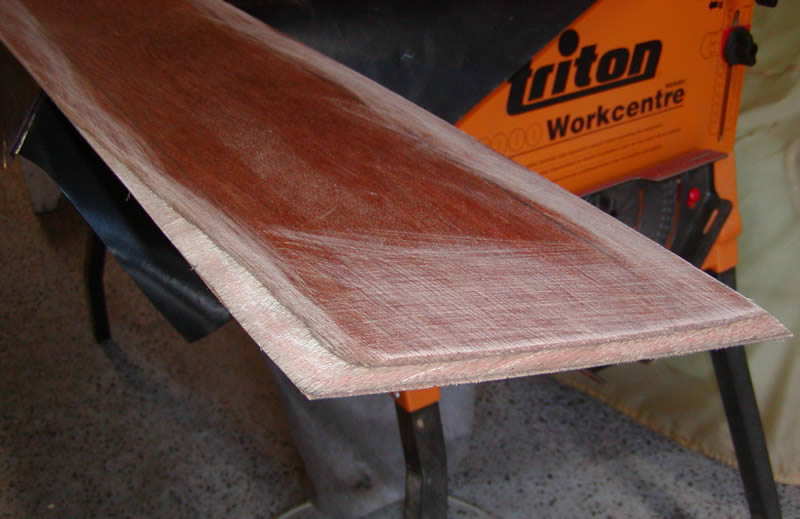
13. Bow planks feathered to accept the next plank up. |
14/15. Test fitting the bow plank. The edges were splayed so that the plank met the stem about 10mm back from the leading edge. The lower edge was reduced forward to blend the plank into the bottom plank.
|
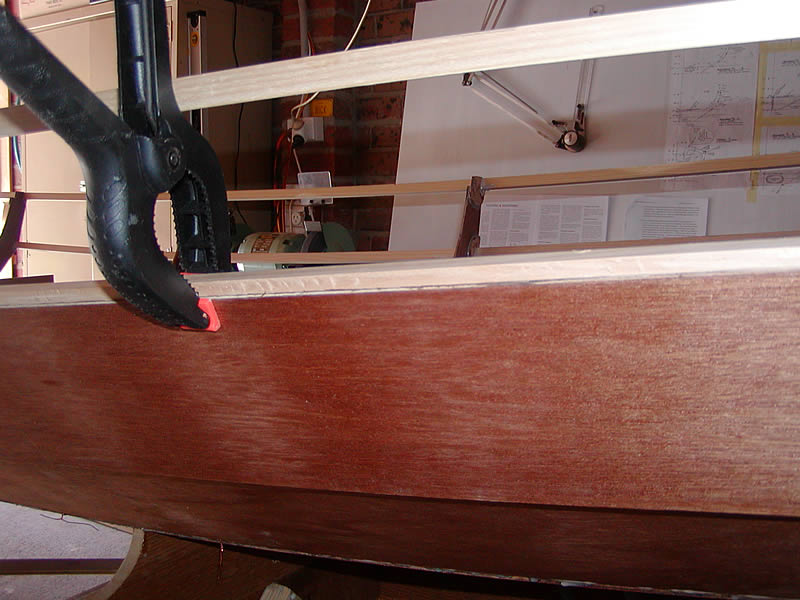
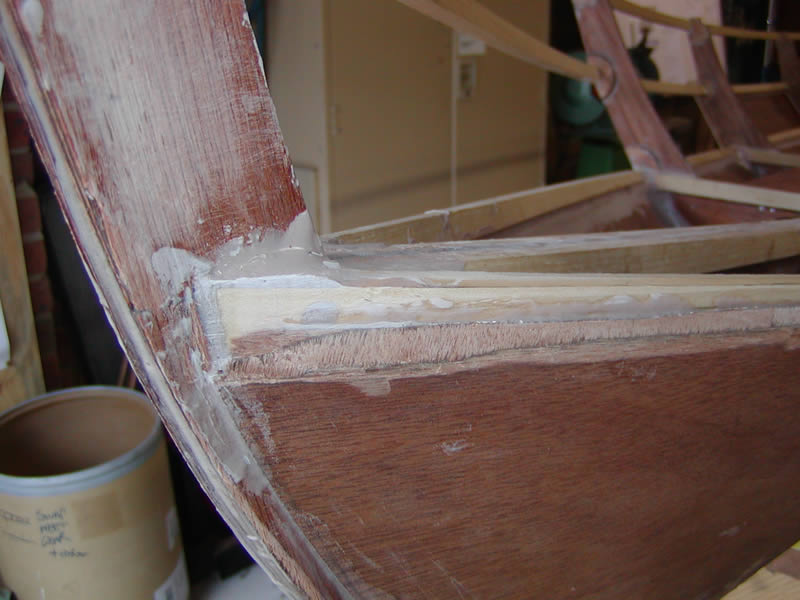
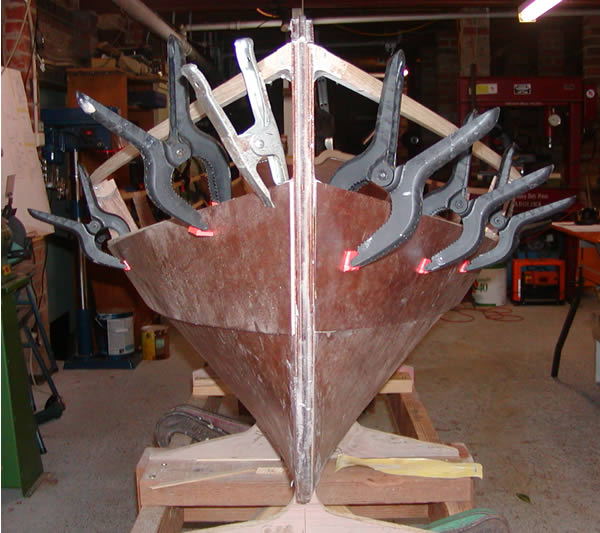
16. Epoxied in place. These clamps don't bond to the epoxy. |
|
|
|
|
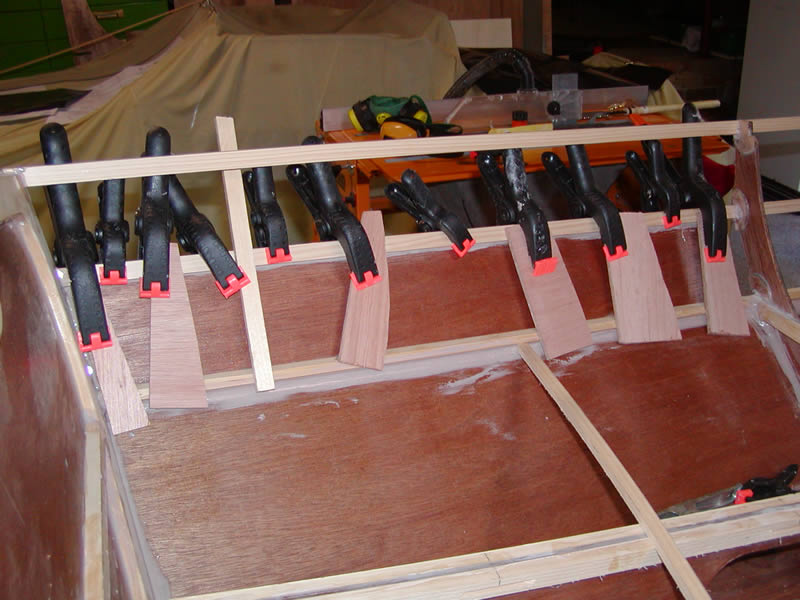
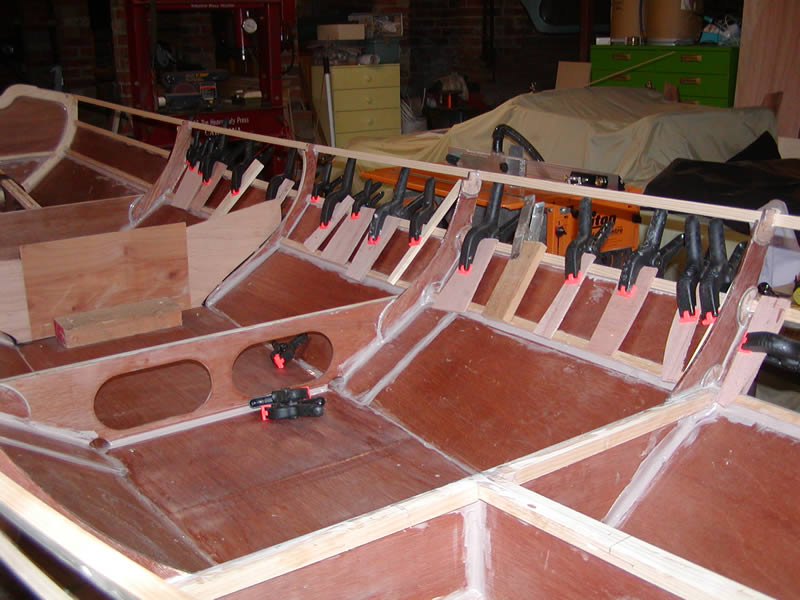
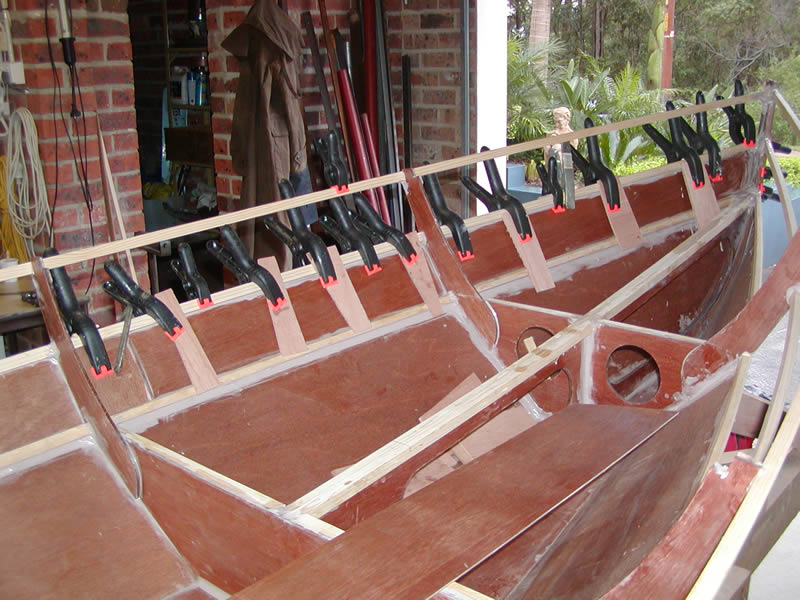
17. The packers enable pressure to be applied to the bottom of the plank. |
18/19.The port plank has been splayed to the thickness of the top veneer and is epoxied in place. The st'bd plank is yet to be shaped. |
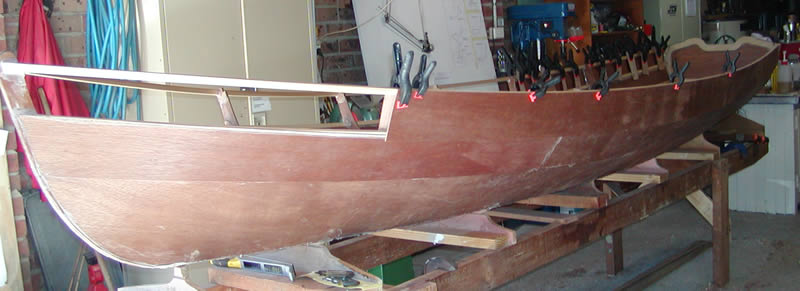
20. First of the top planks has a trial fit. |
|
|
|
|
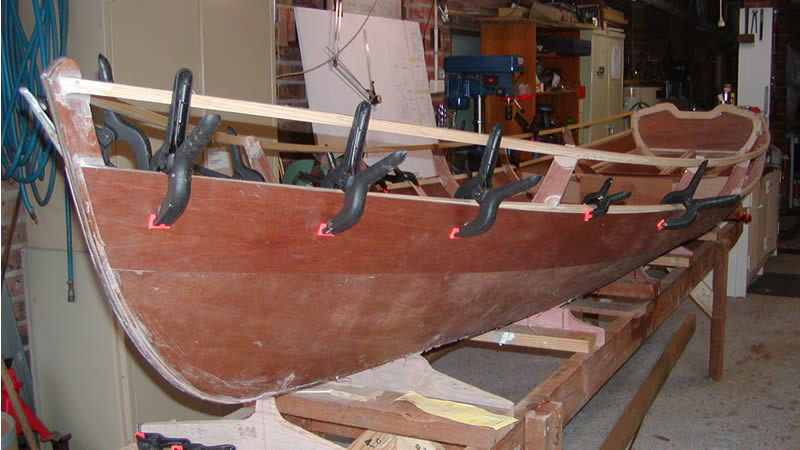
21. P & S stern planks fitted. |
22/23. Planking proceeds towards the bow.
Date: 17th Sep
|
24. A "T" shaped jig was made to prepare the oars.My oars are to be made from 5 pieces. Here, the centre 3 are laminated.
|