| Click the Pic to view Full Size |
|
|
|
|
|
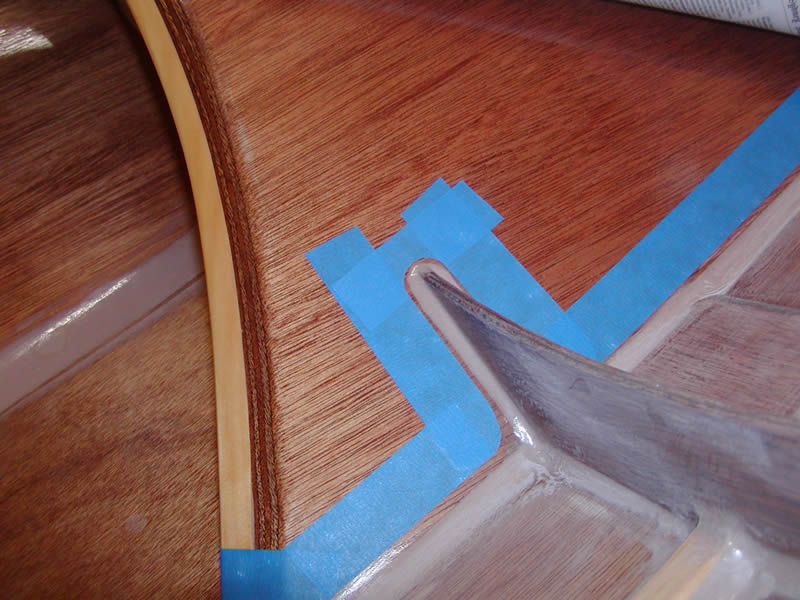
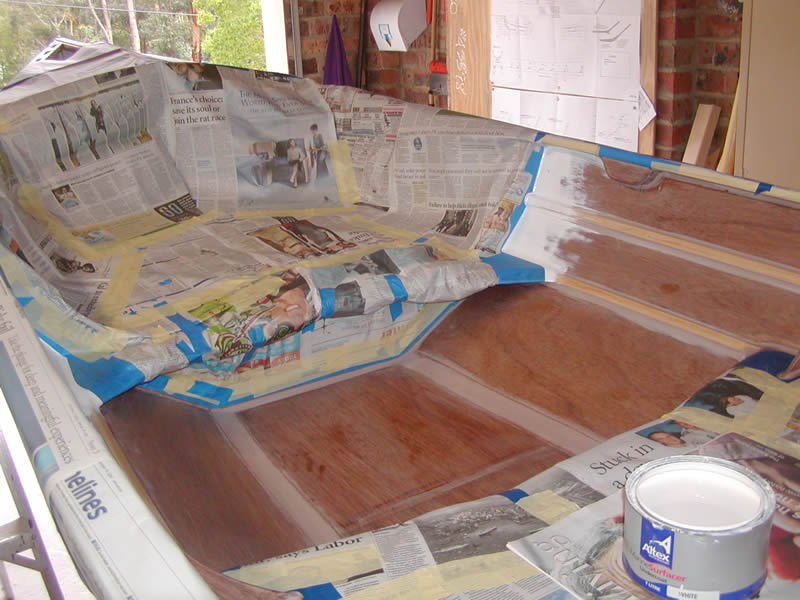
1. In order to paint the interior some masking was needed.
15th Feb 07
|
2.The masking was reasonably simple as I was brush coating..
|
3.The bow seat was masked to allow me to paint the forward section of the planks so that the deck could be added.
|
4. Brush marks were a problem & this area will need re-sanding and spray painting.
19th Feb 07 |
|
|
|
|
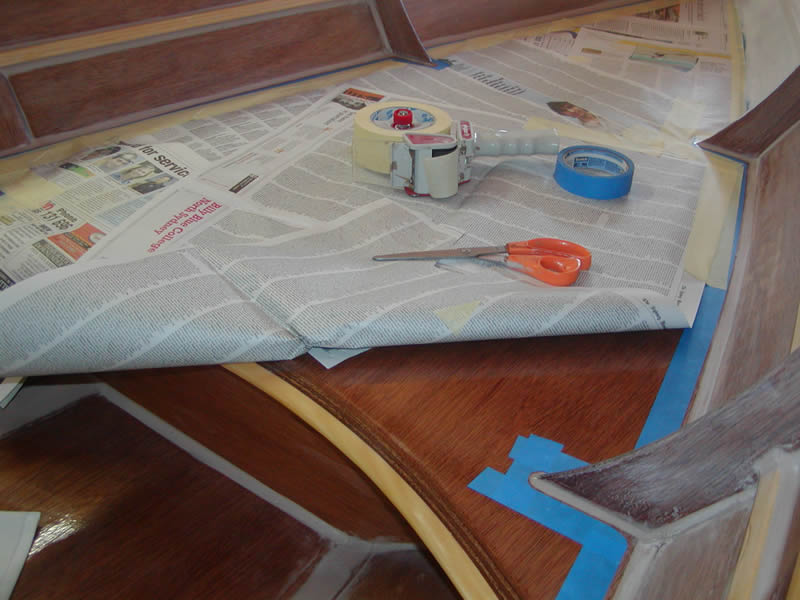
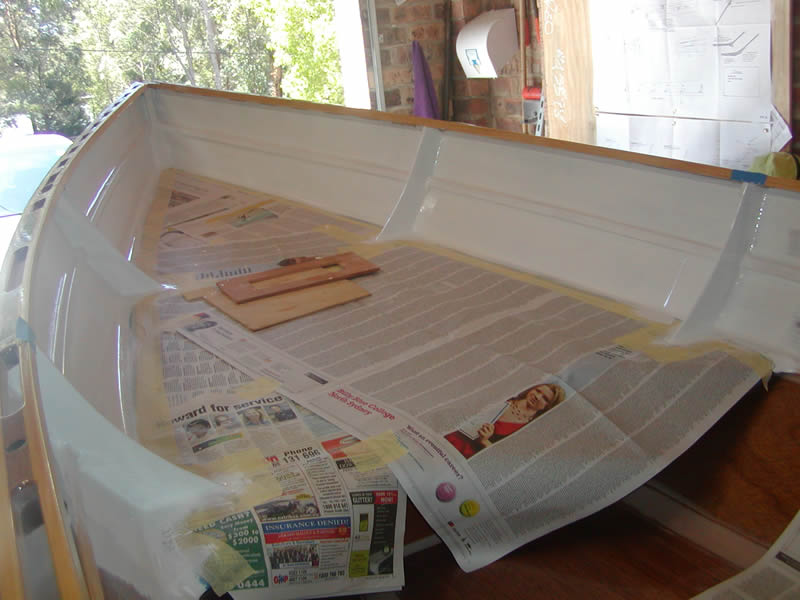
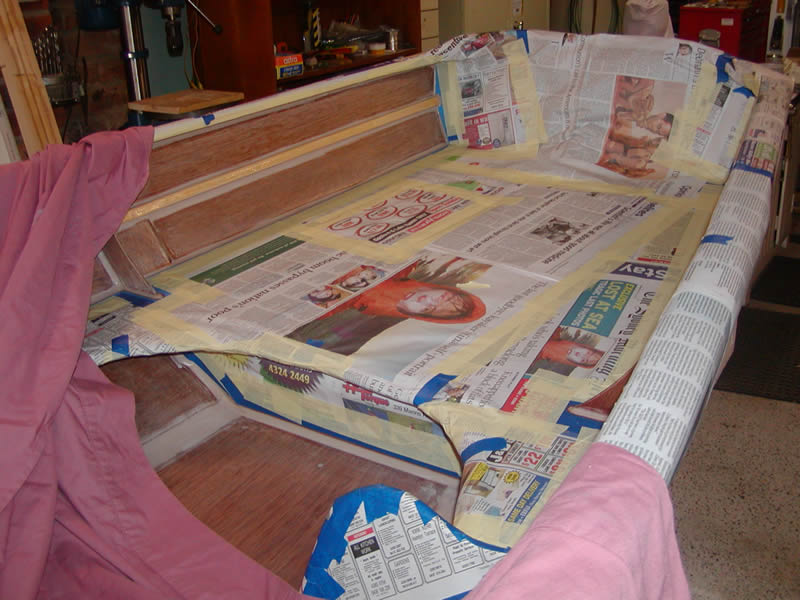
5.The rest of the interior was fully masked to allow spraying of the enamel. |
6. It took about 6 hours to mask the boat.
|
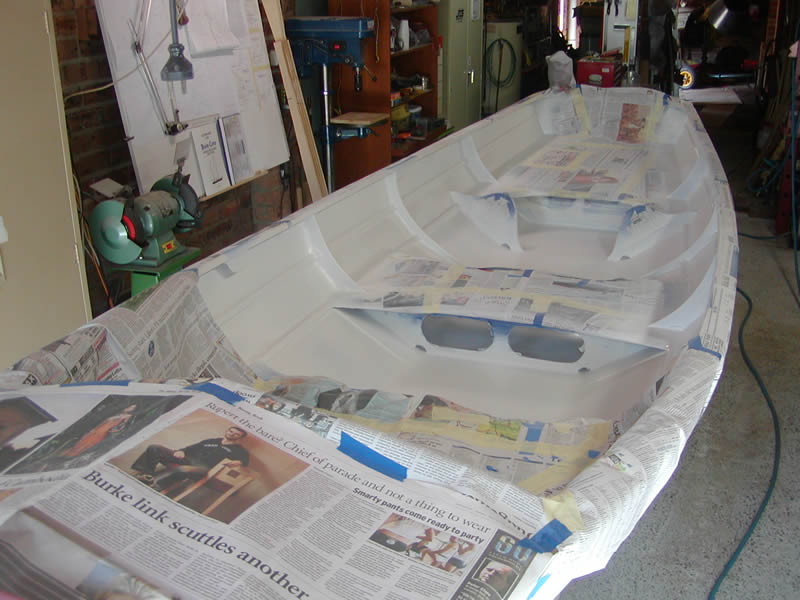
7. But the masking time is worthwhile as the spraying only takes about 15 minutes. In this case undercoat.
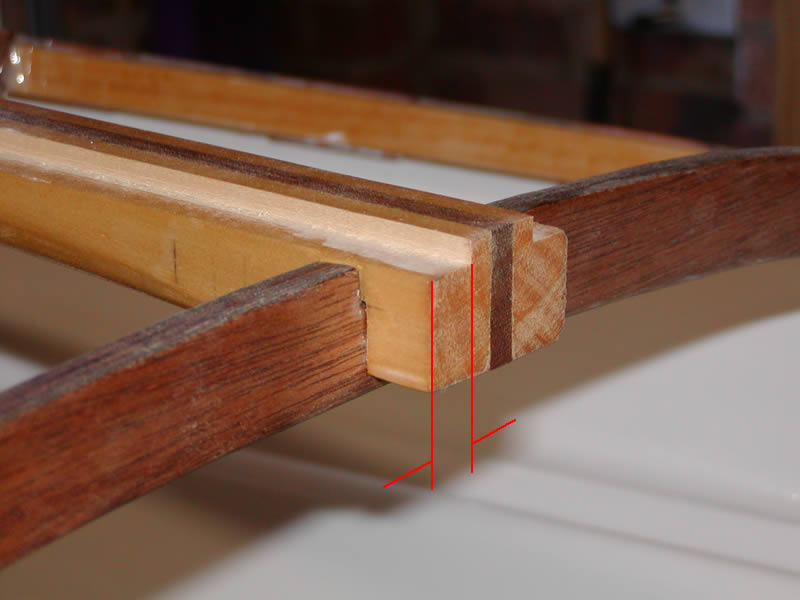
|
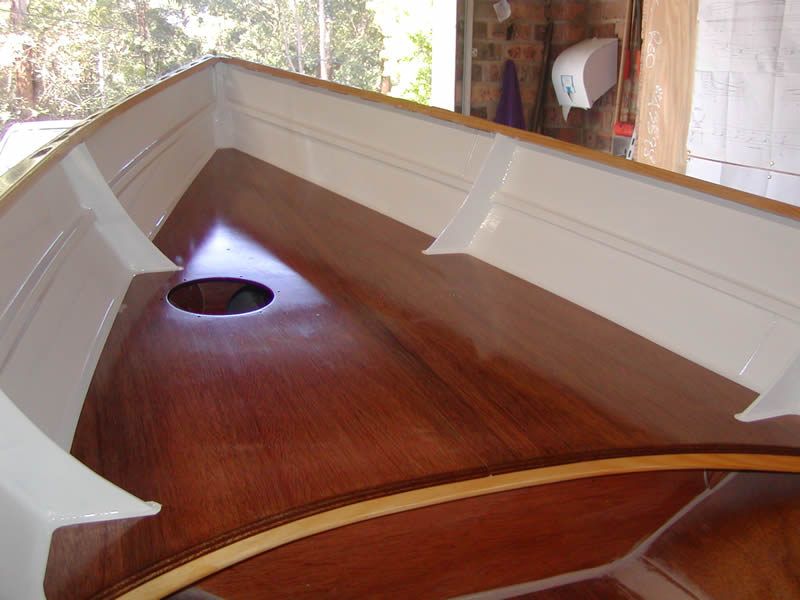
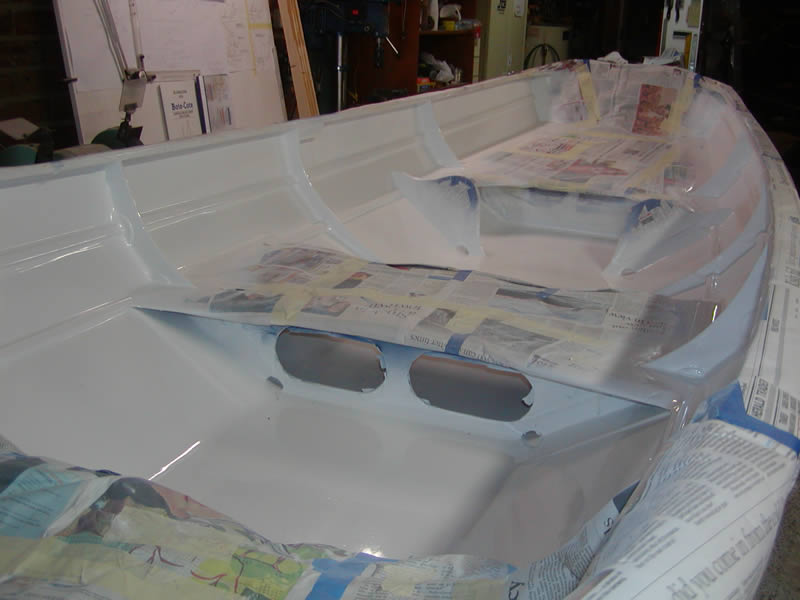
8. Then the final coats of gloss white. Carelessness cost me more time due to some runs and sagging.
9th Mar 07 |
|
|
|
|
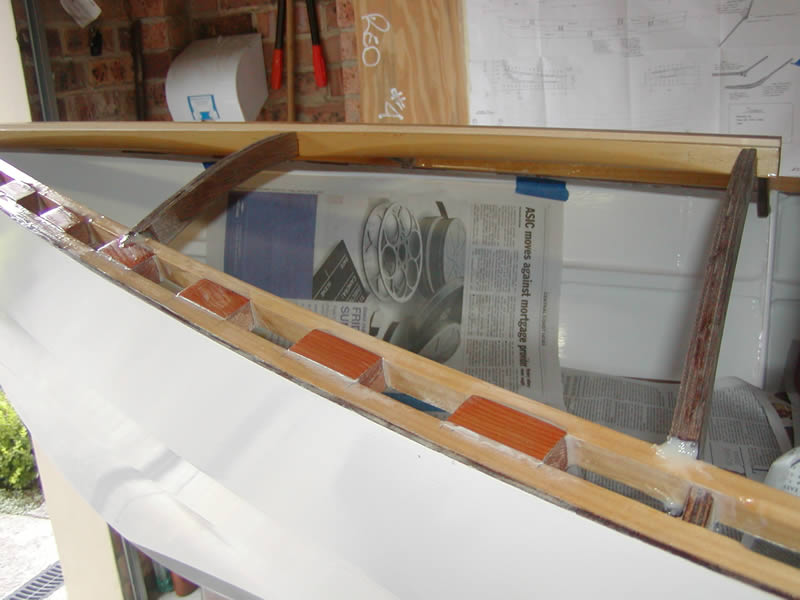
9. The deck cross beams are now epoxied in place although the central beam is left free (for later ease of attaching the deck ply).
|
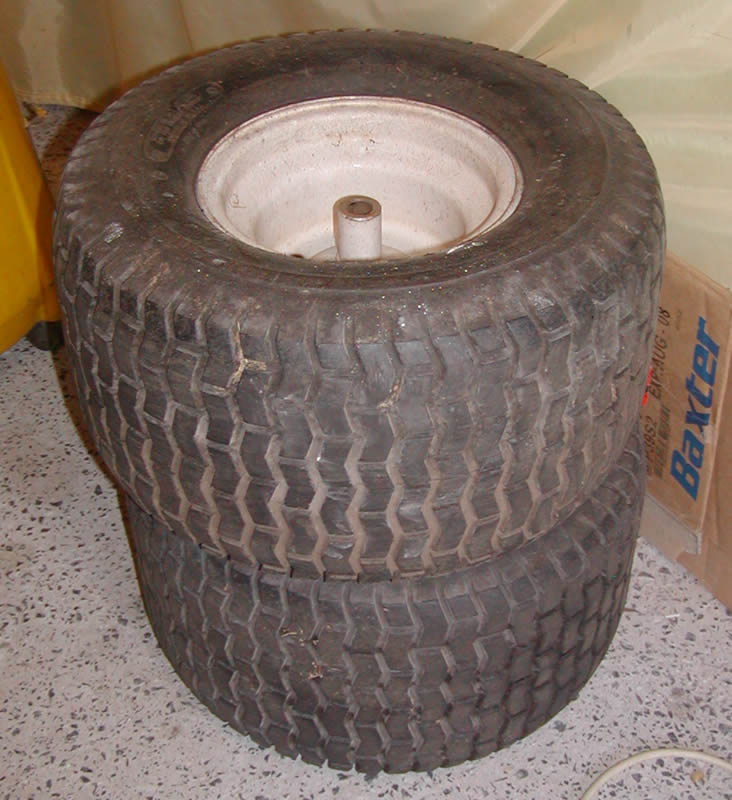
10. I finally tracked down some used rear wheels off a ride-on mower. These will be made into a dolley to wheel the boat on the beach. |
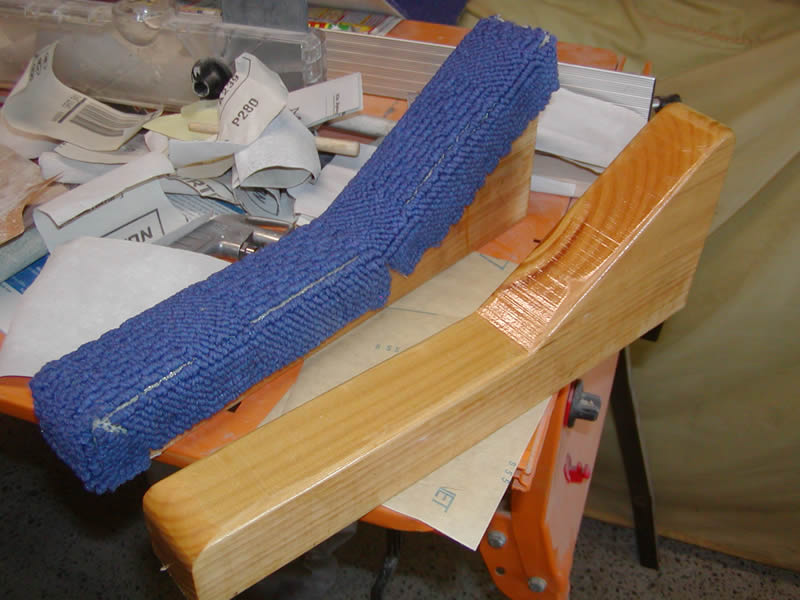
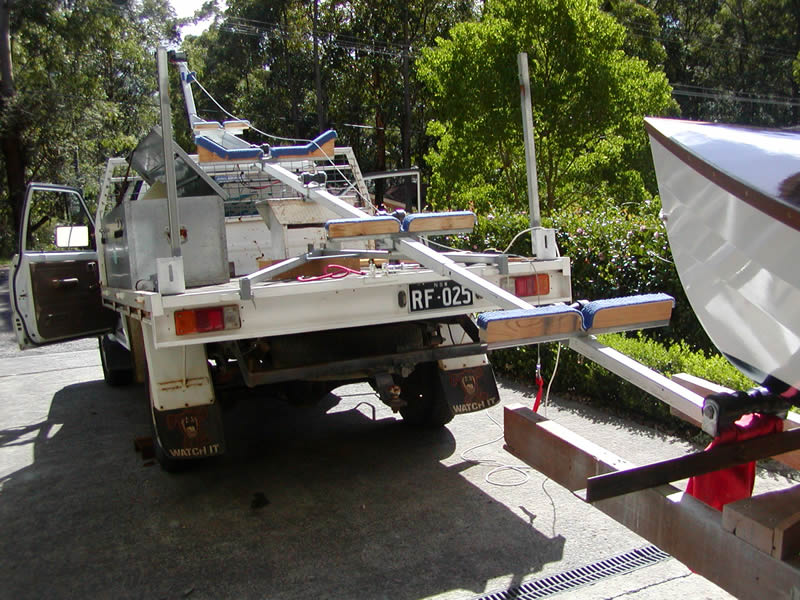
11. Wooden supports for the "truckler".
|
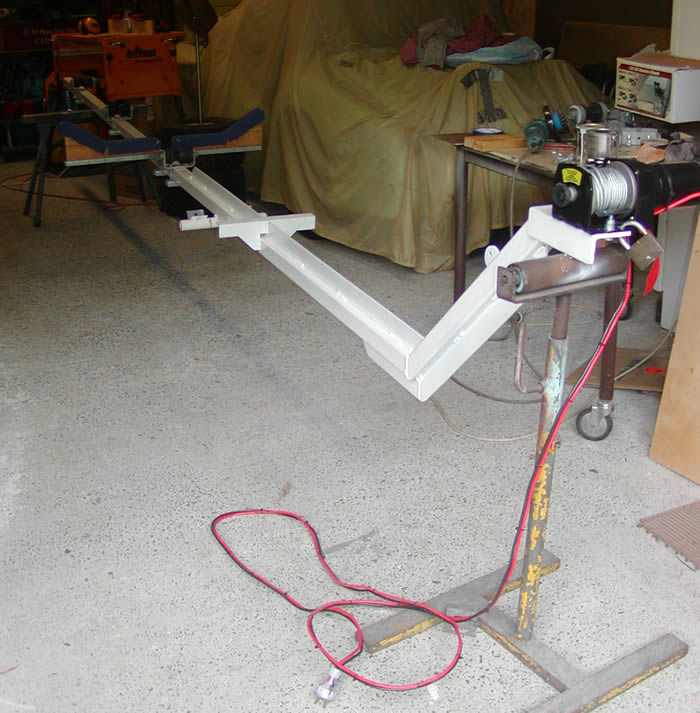
12. The spine of the trailer part has had a test run on the truck and been modified with additional bracing. |
|
|
|
|
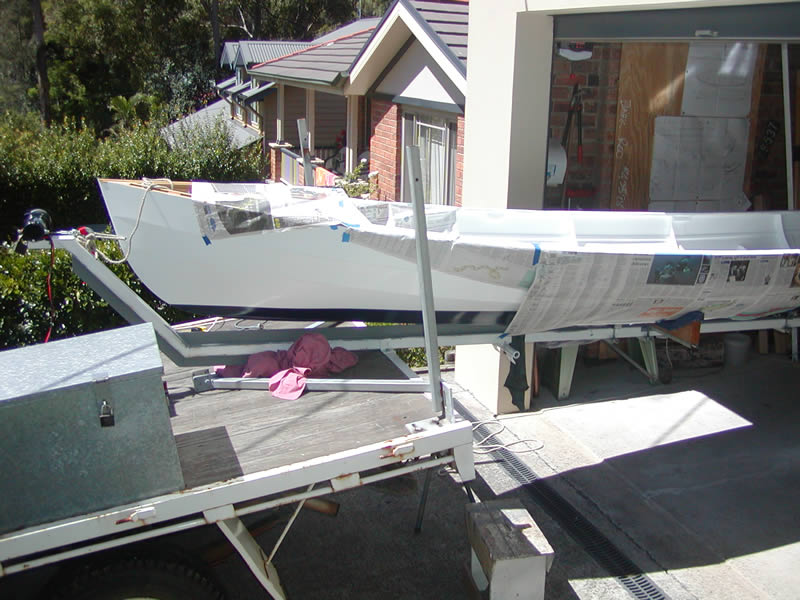
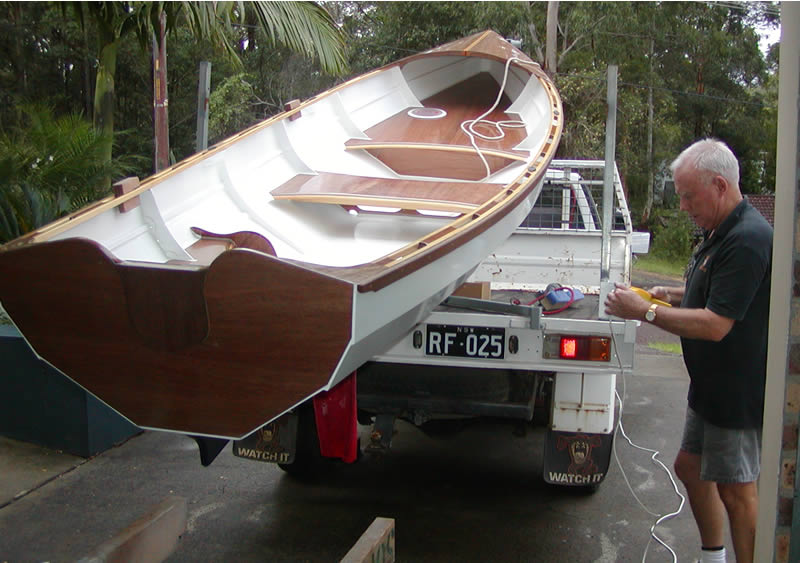
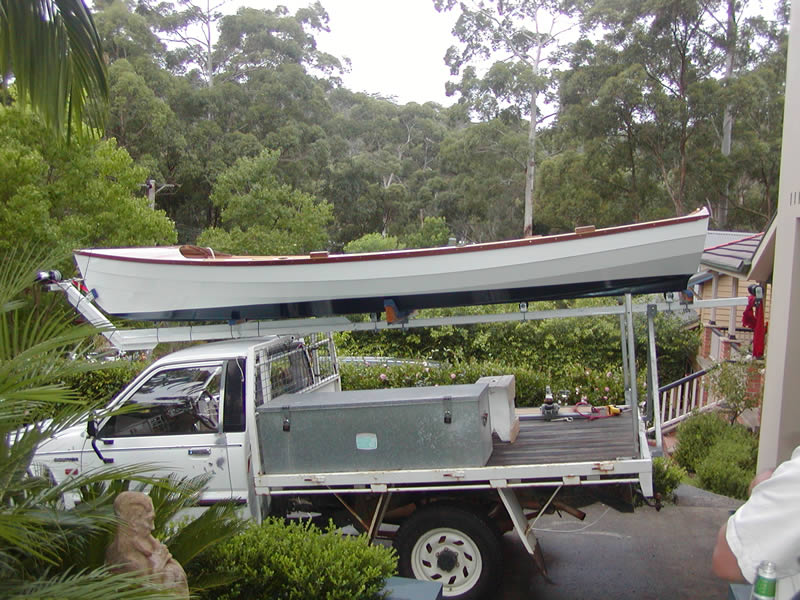
13. The boat finally had a trial run onto the truckler (albeit still with masking everywhere).
|
14. / 15. /16. The painting inside the hull is virtually complete although some areas will need touching-up.
It could be launched now but I will try to get everything finished except the oars. A purchased pair will have to do for a while. 14th Mar 07 |
|
|
|
|
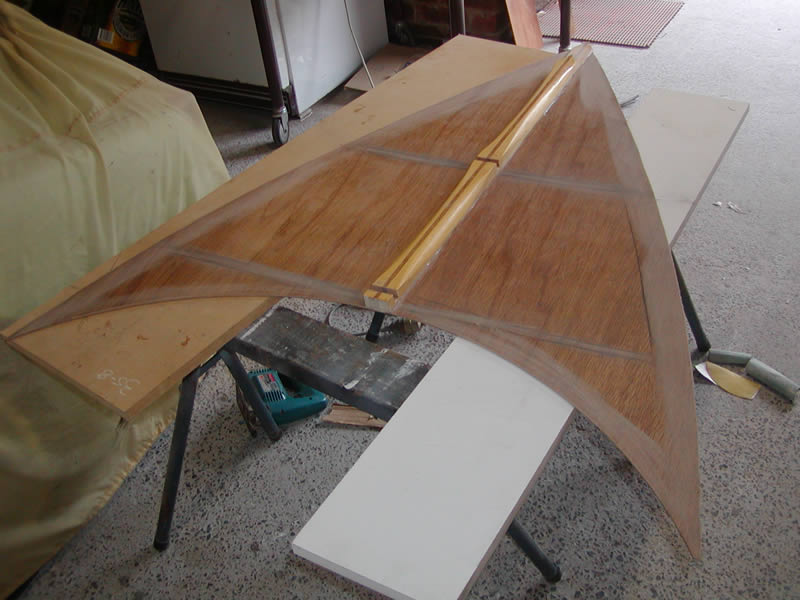
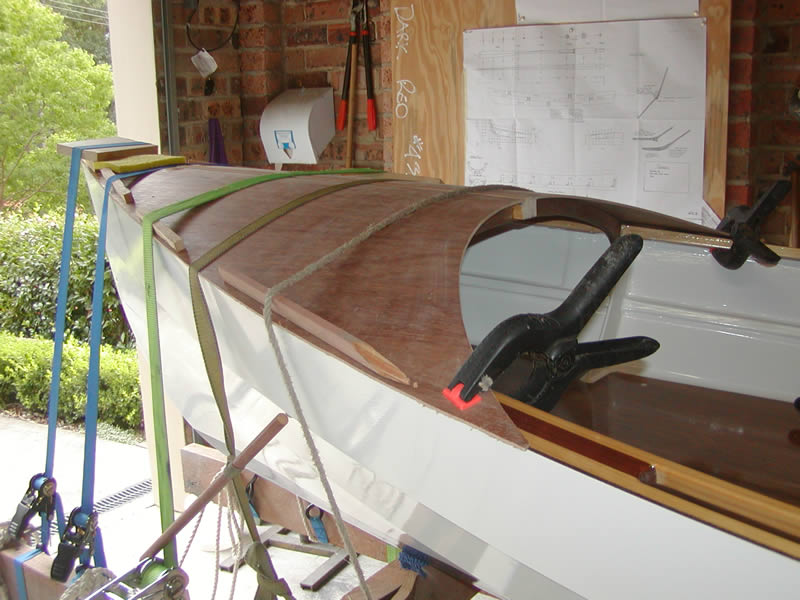
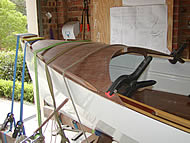
17. I increased the rebate cut on the central deck beam as I was not confident that the ply would have enough gluing area. |
18. The 2 sections of ply for the foredeck are planed to fit accurately to the beam ...
|
19. ... and then epoxied in place with appropriate cramps, weights etc. |
20. I wouldn't do it this way again. The stiffness from the deck beam made curving the top difficult. A single piece of ply wood have been more flexible. |
 |
|
|
24th Mar 07 |
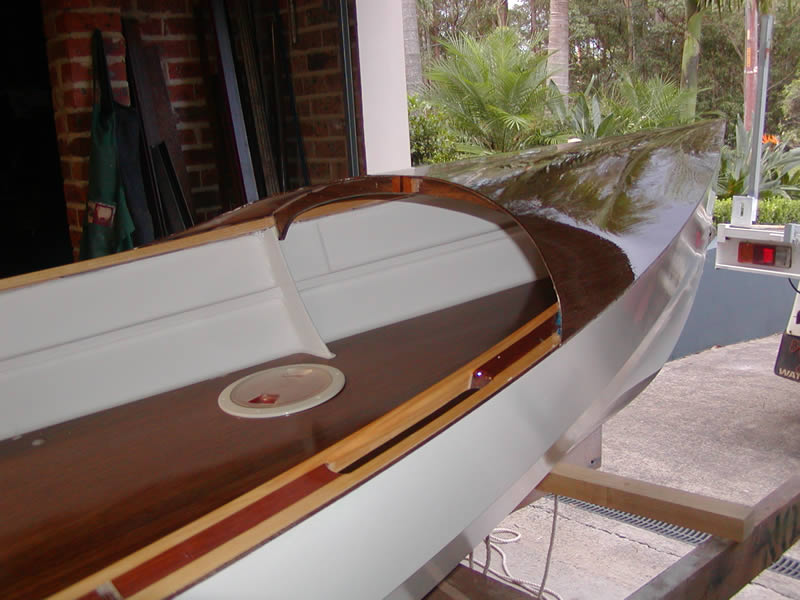
21. So much pressure was required to curve the ply that it deformed in places. |
22. Three coats of epoxy were applied but no top coats as yet. I found the only way I could get a reasonable finish was to roll the epoxy on, hold the roller from turning and then drag it over the surface. |
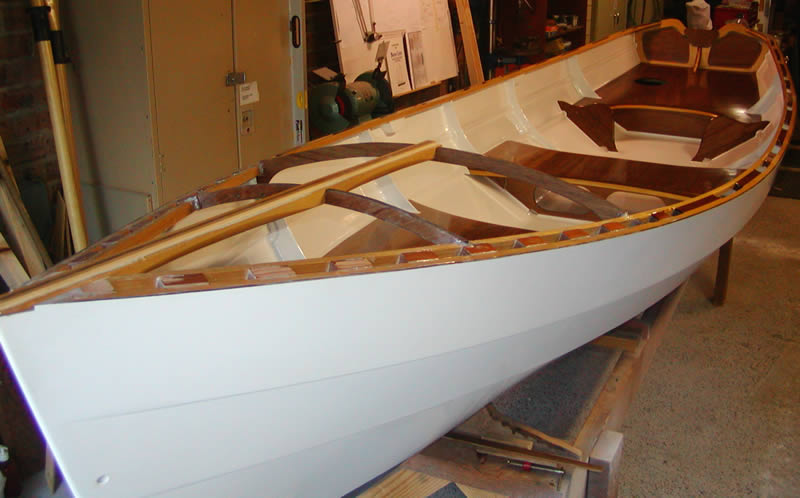
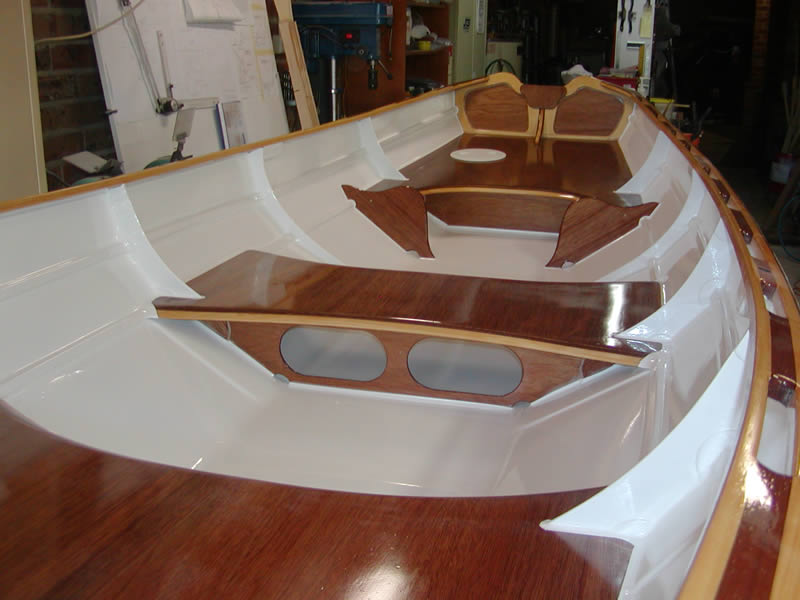
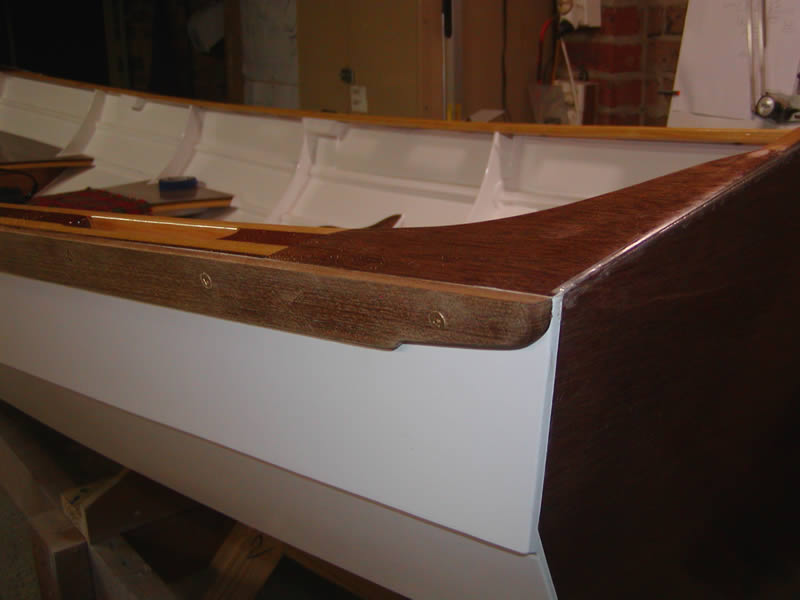
23. The rubbing strakes were shown under construction on Page 9. Here they are shaped and screwed to the gun'l with si/bronze screws. |
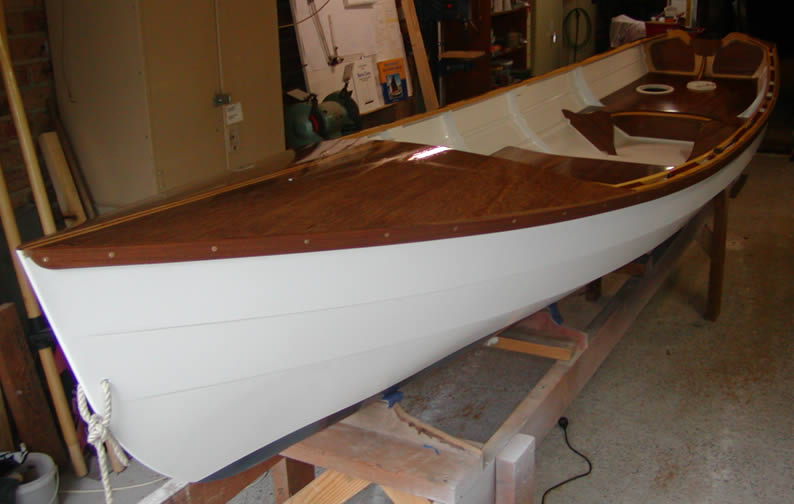
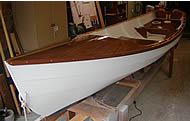
24. Most of the detail is complete except for the foredeck coaming and deck hardware. The rubbing strake was not glued and was finished in outdoor Organ Oil.
|
|
|
|
|
|
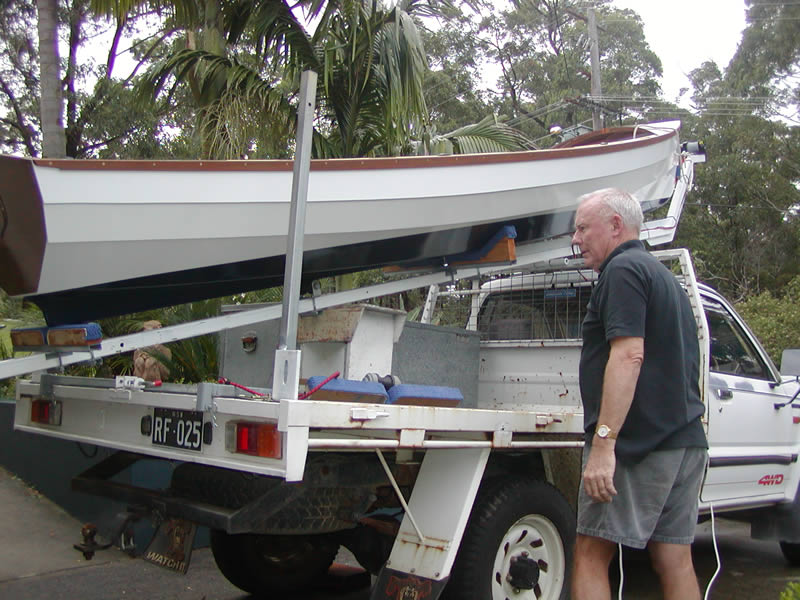
25. She finds her way onto the truckler for the first time.
25th Mar 07 |
26. Loading was from the building jig which was a little higher than desirable. |
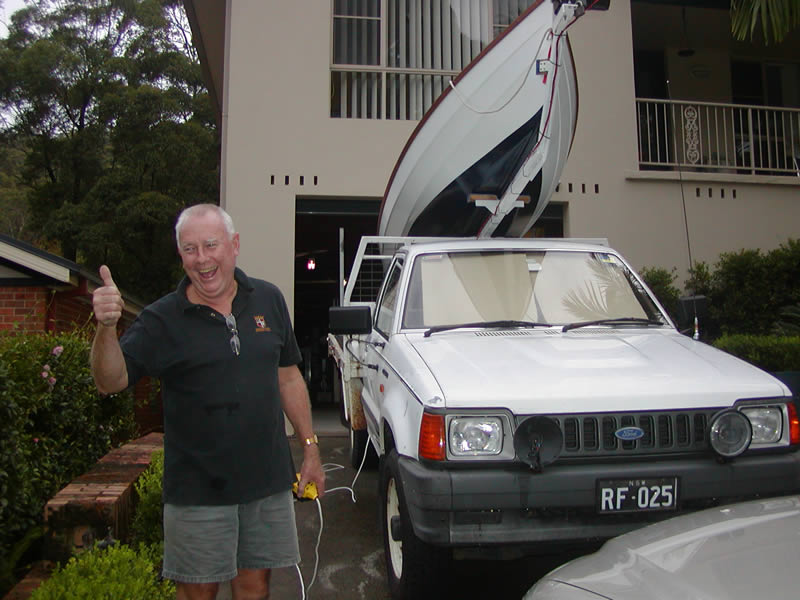
27. She's outside and "on" for the first time. A reasonably pleasing experience. |
28. The boat can be raised to a horizontal position for long-distance travel. |
|
|
|
|
|
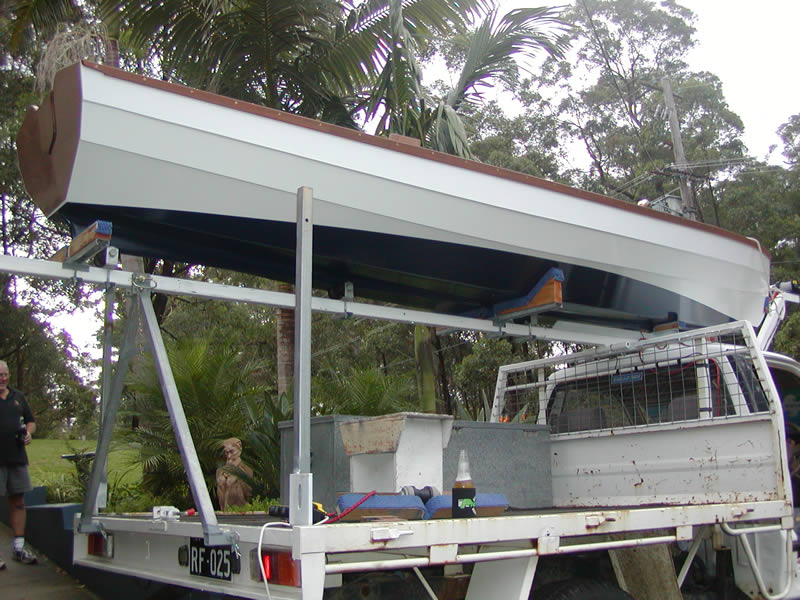
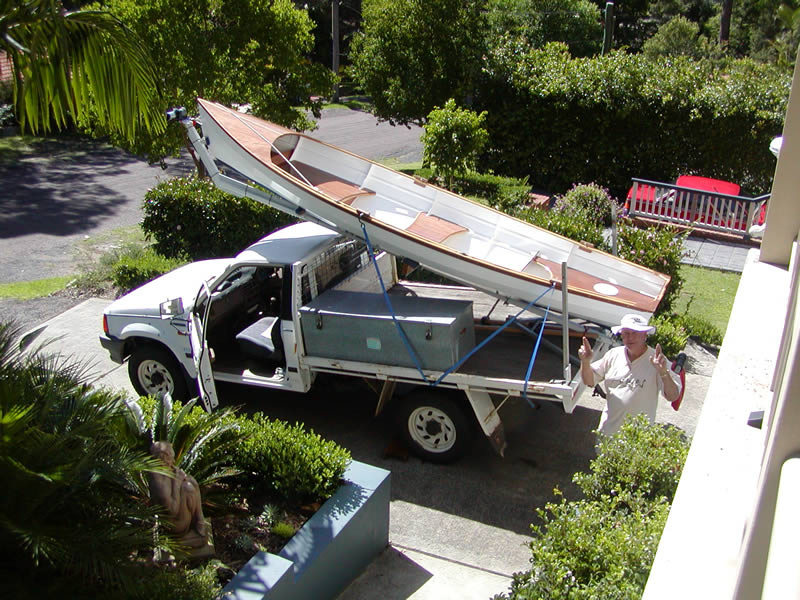
29. The blocks on the gun'l are for tie-down attachments. The weather has been very poor so hoping for a reasonable day to launch ... |
30. Launch Day
The truckler is extended to connect to the building jig ... |
31. ...and she is winched onto the truck. Special tie-down blocks fit into the gun'l and 2 simple ties seemed to hold everything in place.
|
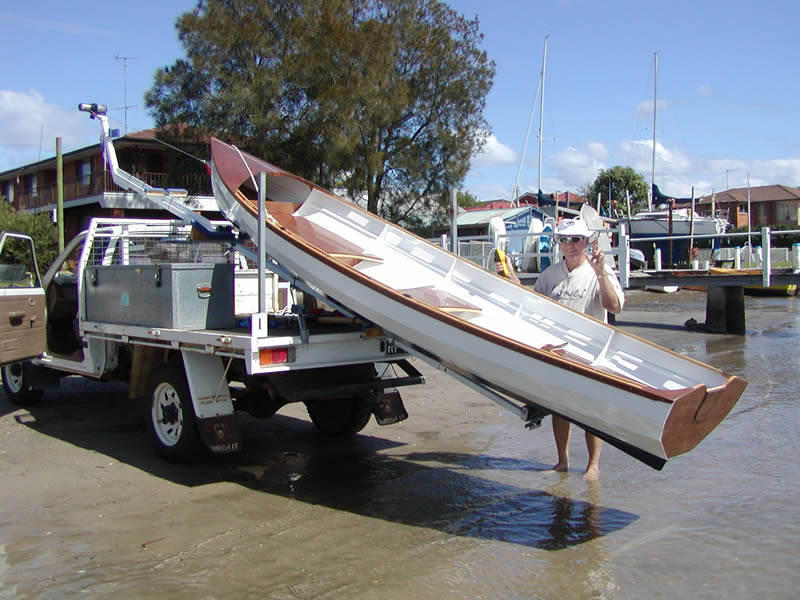
32. Winching off towards its first "swim". The truckler has been extended to help support the boat during launching. |